Create a branch
Who can do this
Owners and administrators. The number of branches depends on your plan.
Add a branch for each office you survey from, so that each project belongs to one branch.
- Open Organisation controls under Organisation in the Console navigation, then choose Branches. The list shows your branches with their codes and addresses.
-
Select New branch. The form opens.
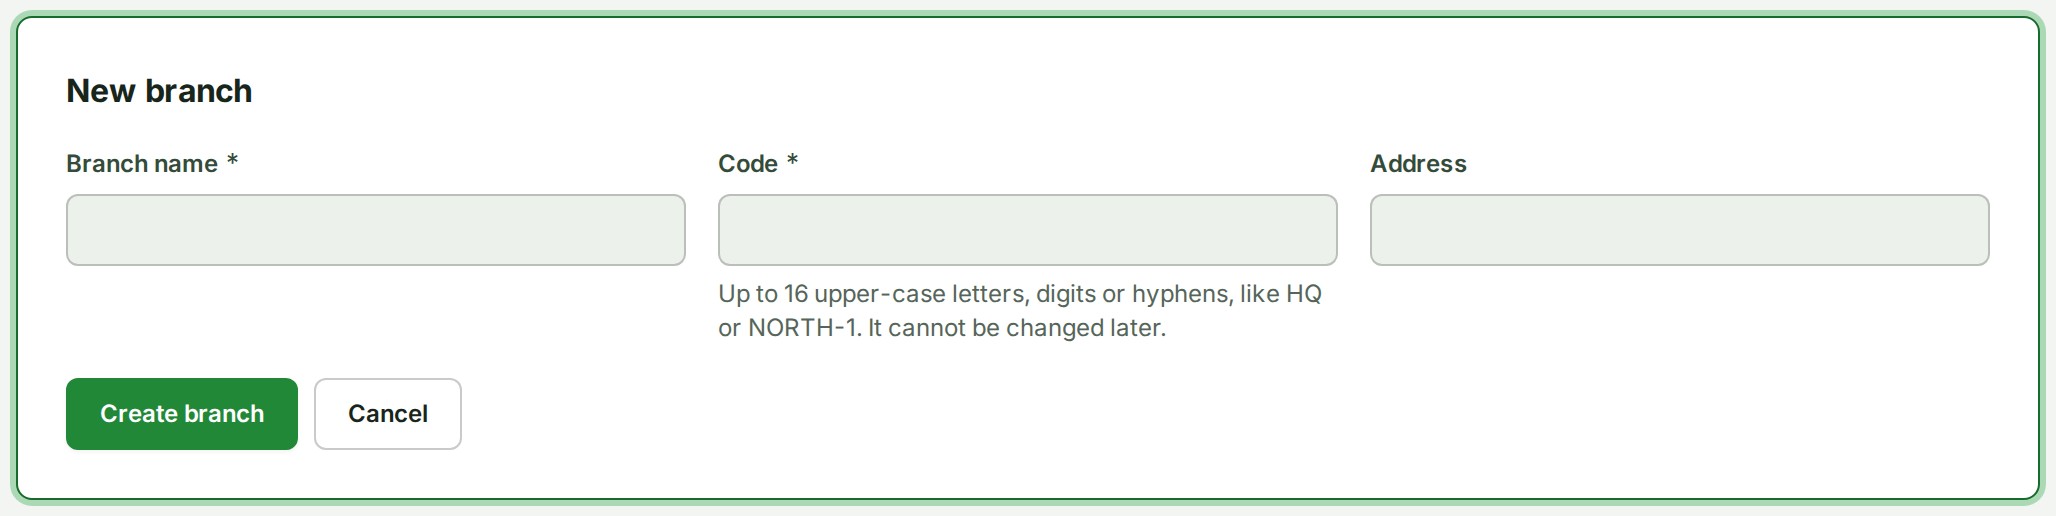
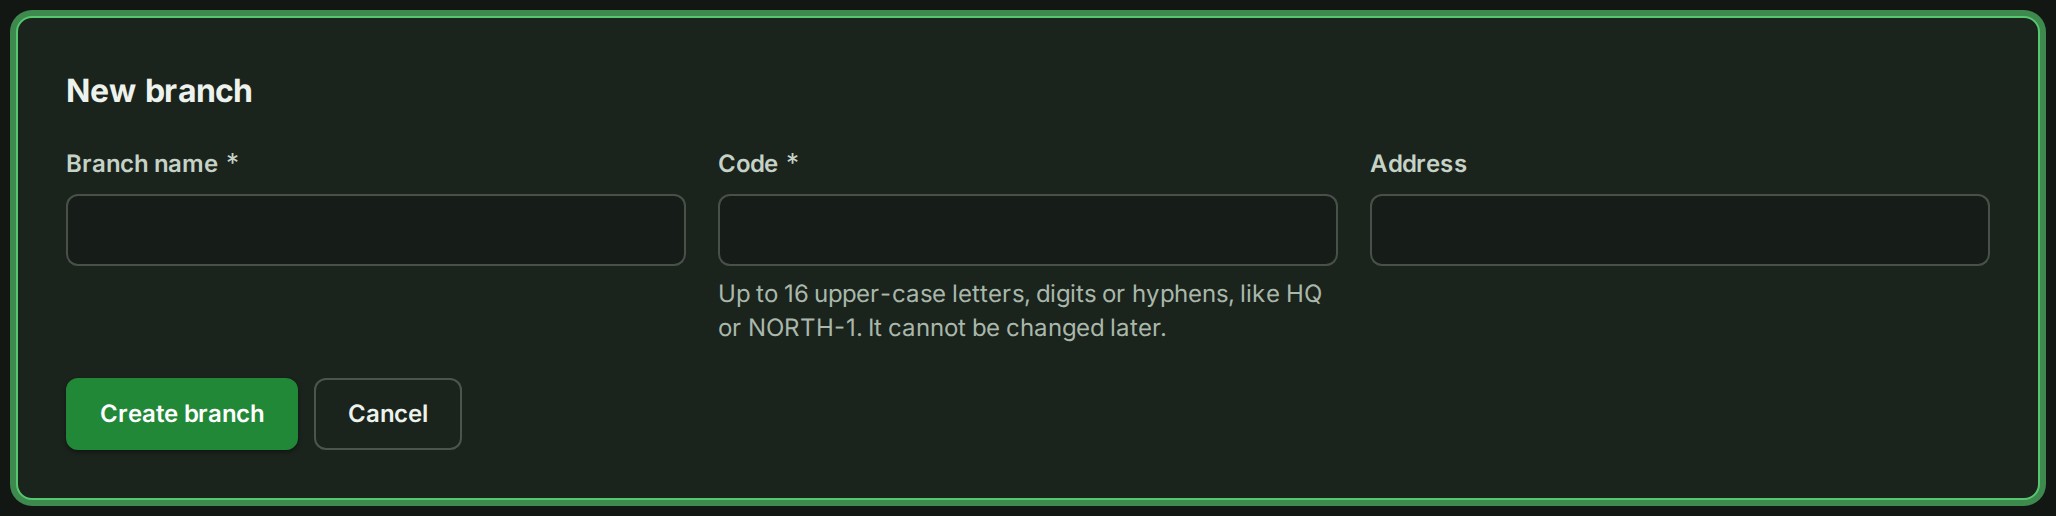
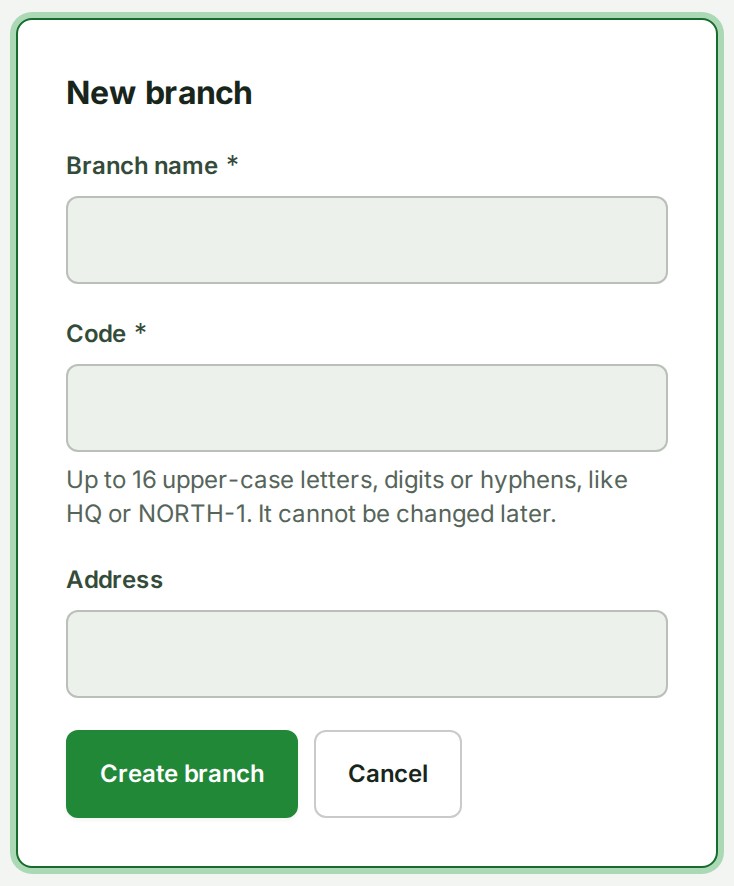
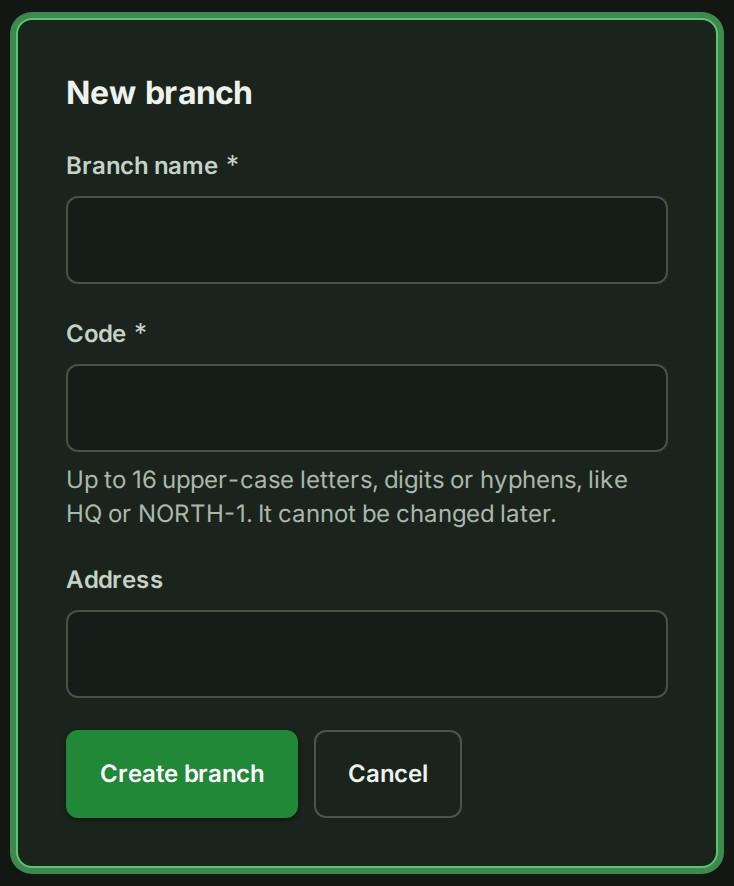 3. Type the Branch name.
4. Type a Code: up to 16 upper-case letters, digits or hyphens, like NORTH-1. You cannot change it later.
5. Type the Address, if you have one.
6. Select Create branch.
The branch appears in the list.
What happens next
The branch appears with its code and address, and you can choose it when you create a project. Select Roles on its row to give people a role that covers its projects.
If something goes wrong
- A branch already uses that code. Codes are unique in your organisation. Choose another.
- New branch cannot be selected, and a sentence beside it says all the branches your plan includes are in use. Archive a branch you no longer use (Change or archive a branch), or select See plans.
- There is no New branch. Your role cannot create branches. Ask an owner or an administrator.