Place a point by clicking, with snapping
Who can do this
Owners, administrators, and colleagues who can add work to the project (branch managers and members, project leads and contributors) Every plan.
Move a saved point to a clicked position on the map, with the pointer snapping to a nearby target.
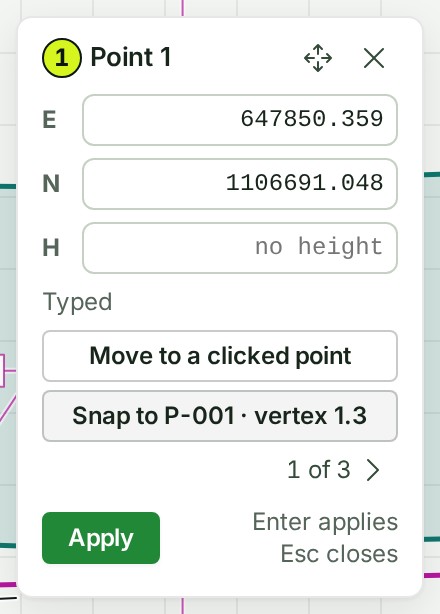
- At a desk, with a project open on the map, select a saved item, then click a point's numbered handle on the map. A small box opens beside it with its E, N and H, and the point is drawn as a hollow ring.
-
Select Move to a clicked point. The box folds into a strip at the edge of the map, and the status bar says how far "near" is on the ground at this zoom (Snap 12 px ≈ 0.84 m).


-
Move the pointer near the position you want. The map marks the target before you click, and a label beside the pointer names it, such as P-001 · vertex 1.3.


-
Click. The point moves there, and the box says what it was placed on.
To type the values instead, enter them in the box and press Enter to apply, or Esc to close it.
What happens next
A point placed on a delivered vertex, or on a vertex of another saved measurement, records what it was snapped to. A point placed where lines cross, in the middle of a side or on a side is kept as typed coordinates, and the box says so, for example On the edge of P-001 (typed).
Keys while you aim
| Key | What it does |
|---|---|
| Tab | The next target |
| Shift+Tab | The target before |
| Alt (Option on a Mac) | Place the point exactly where you click, with no snapping |
| S | Turn snapping off or on |
| Arrow keys | Move the aim by one pixel, or ten with Shift |
| Enter | Place the point |
| Z (hold) | Show the magnifier anywhere |
The mark on the target says what it is: a square for a vertex, a circle for a point, × for where two lines cross, a triangle for the middle of a side and ⊥ for a spot on a side. Where two parcels share a corner, both corners are offered; your choice stays while you aim, and the click takes it. Snap in the status bar turns snapping off or on.
Near a target a magnifier shows the spot four times larger. Loupe: automatic in the status bar switches it to Loupe: on Z only.
Snap from the box
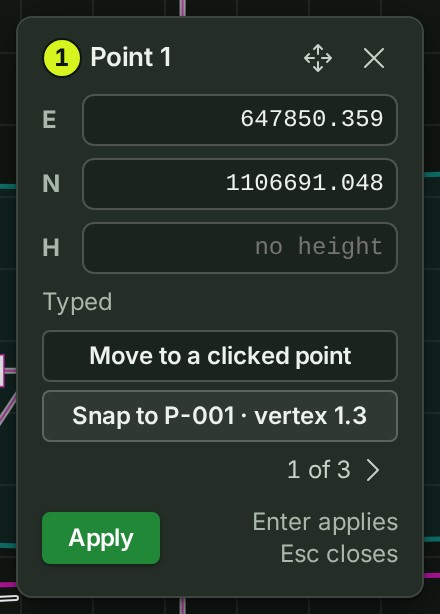
Snap to target in the box names what the point would snap to from where it stands, and the map previews it. With more than one target near, the button beside it moves to the next.
If something goes wrong
- Nothing is near: the box offers Look within 24 px once. If that finds nothing either, it says so; zoom in or use Move to a clicked point.
The product words on this page are explained in the glossary.
Next: Make a PDF map