Branches
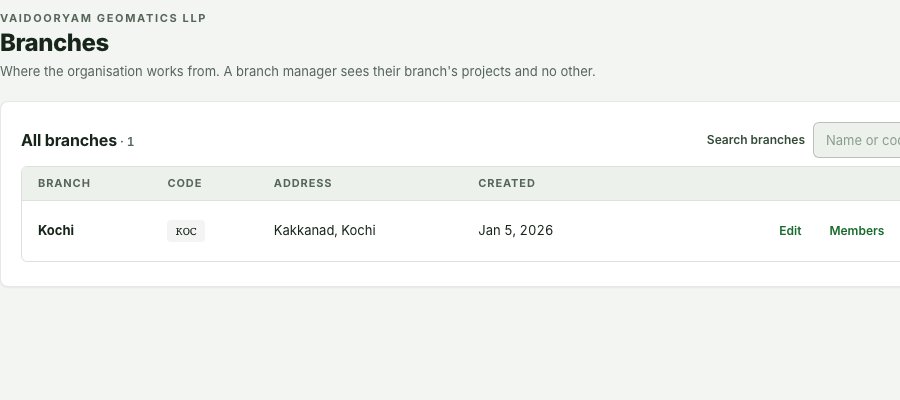
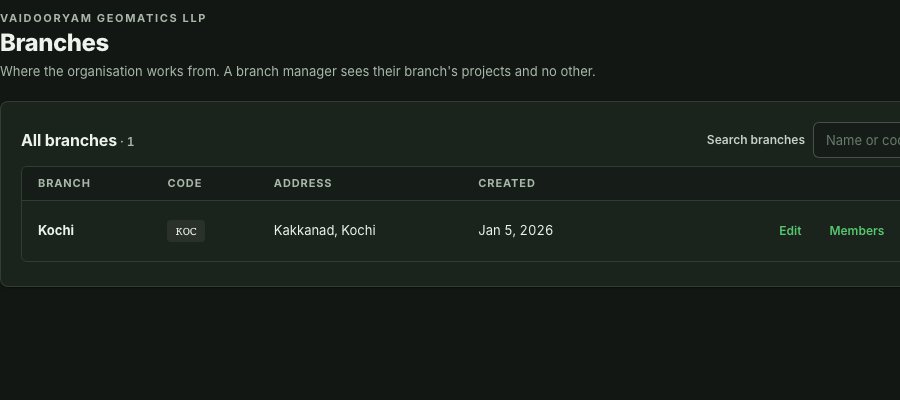
Use Branches to set up the parts of your organisation, usually offices. Each project belongs to one branch. Branches are under Organisation controls.
Create and maintain branches
- Open Organisation controls, then Branches, and choose New branch.
- Enter a clear branch name, short code and address if your organisation uses one.
- Choose Create branch.
- Use Edit to correct branch details and Roles to manage the roles that should cover its projects.
A colleague who holds no role on a branch sees it in the list without Edit or Roles.
Your plan sets how many branches your organisation can have, the headquarters included. When they are all in use, New branch cannot be selected, and the sentence beside it says what your plan includes and which plan allows more, with See plans to open the plan screen. Archiving a branch other than the headquarters makes room for another. If a colleague used the last place while your form was open, the form shows the same sentence when you choose Create branch, and the button stays unavailable.


Why this is so
A branch groups projects. It is usually an office, but it can be an area or an operational team, and each project belongs to one branch. The headquarters branch is marked HQ and cannot be archived; for any other, read the confirmation before choosing Archive — it does not delete its projects or their survey data. If a branch is missing while creating a project, confirm you have access to it and that it has not been archived.
Archive or bring back a branch
An Owner or an Admin can put an unused branch away and bring it back later.
- Open Organisation controls, then Branches.
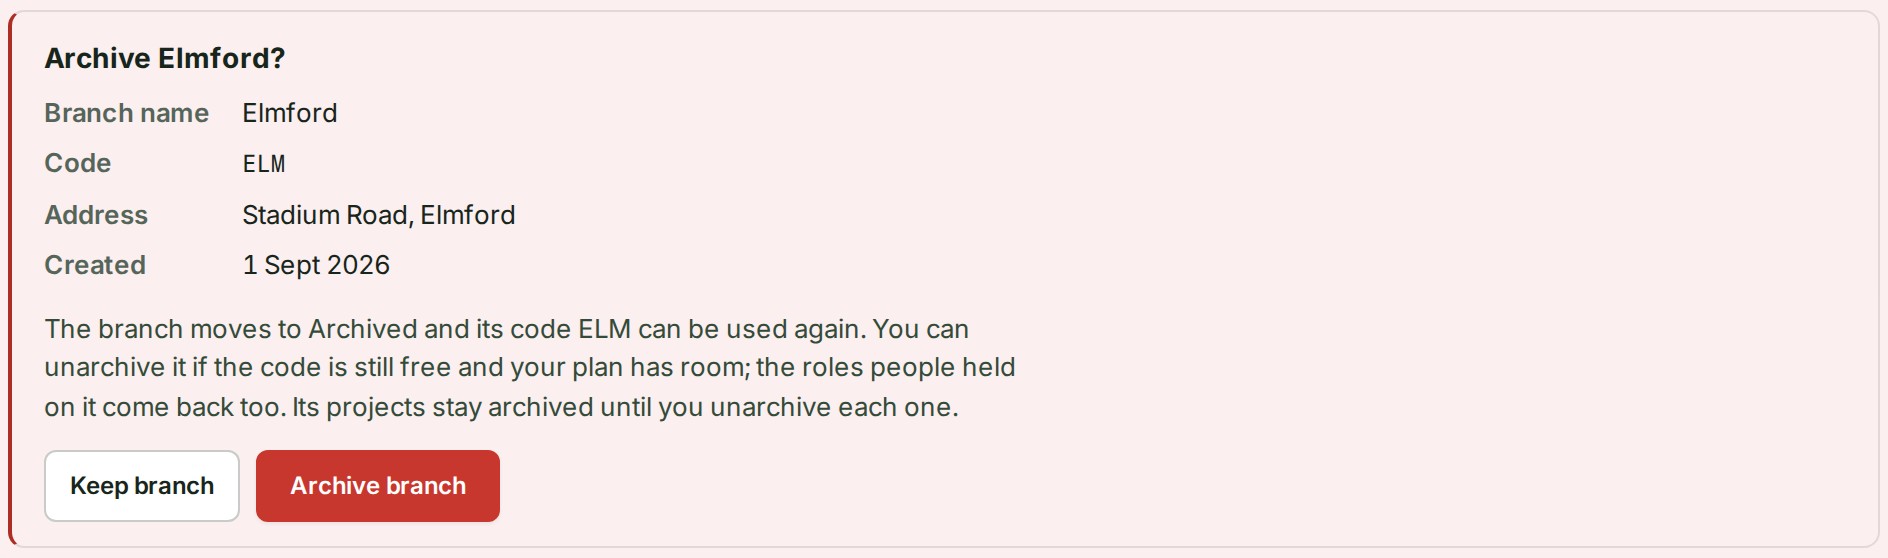
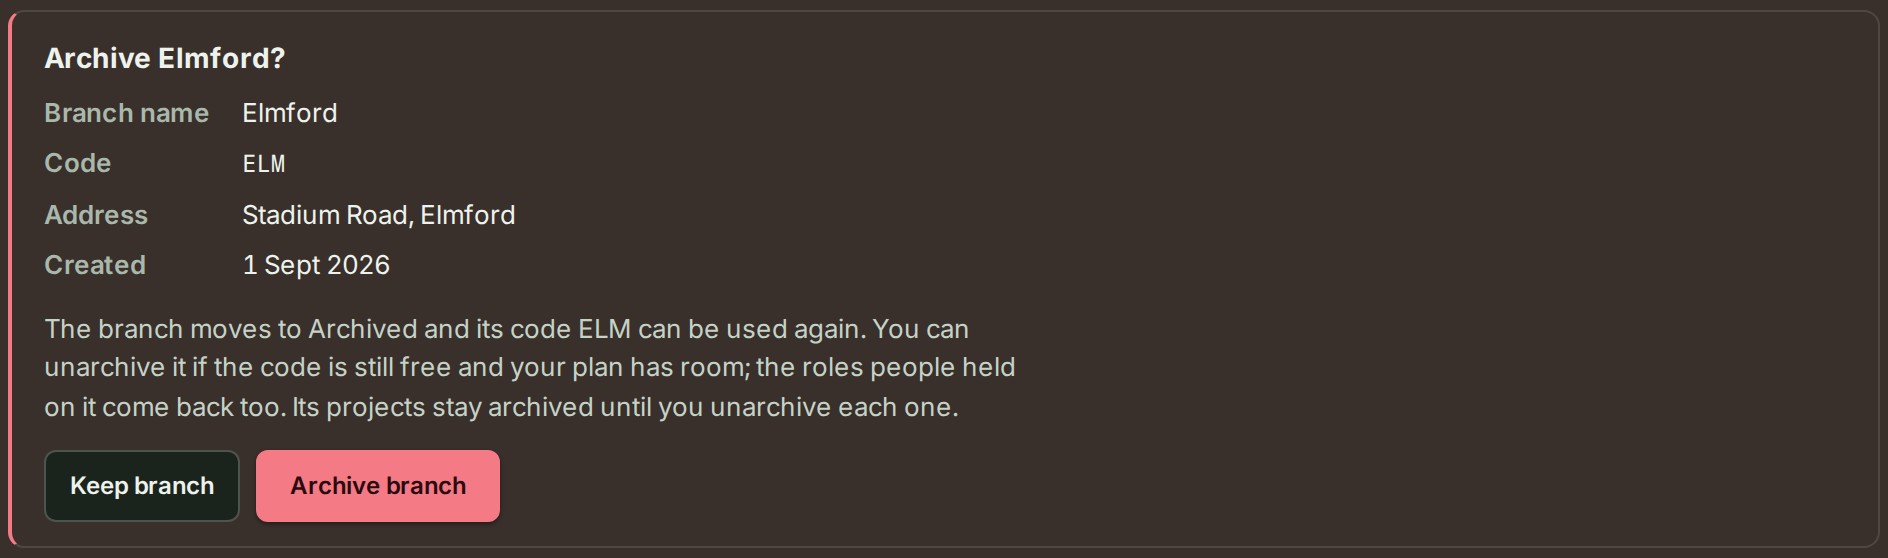
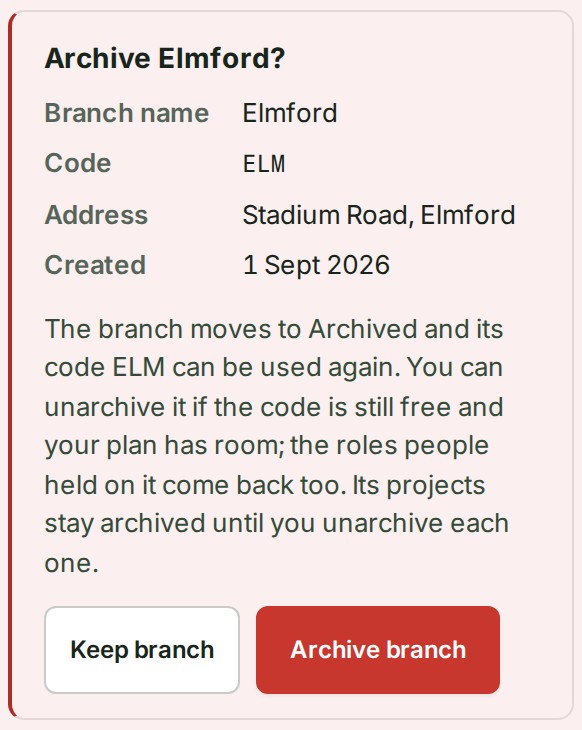
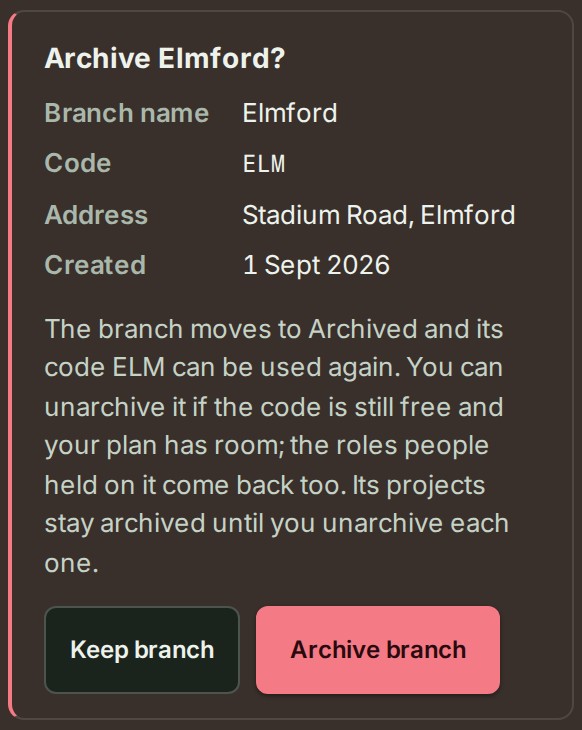
- Choose Archive on the branch. Read the confirmation, then choose Archive branch. Archive or move its active projects first; the headquarters cannot be archived.
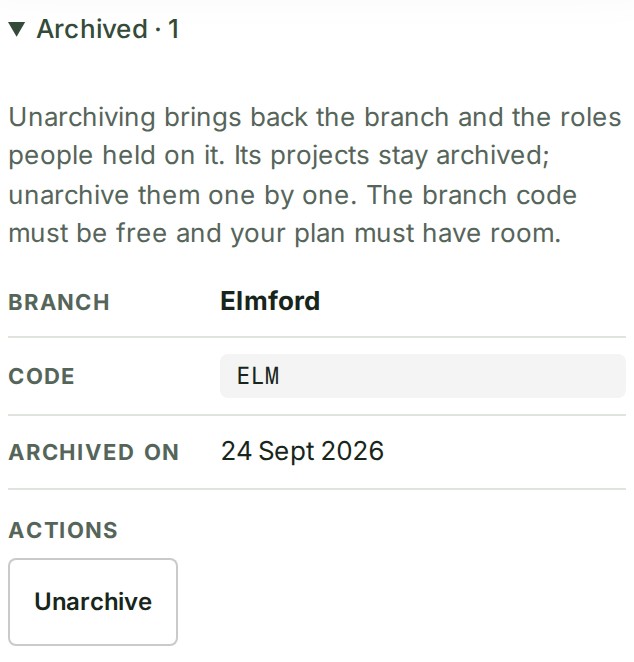
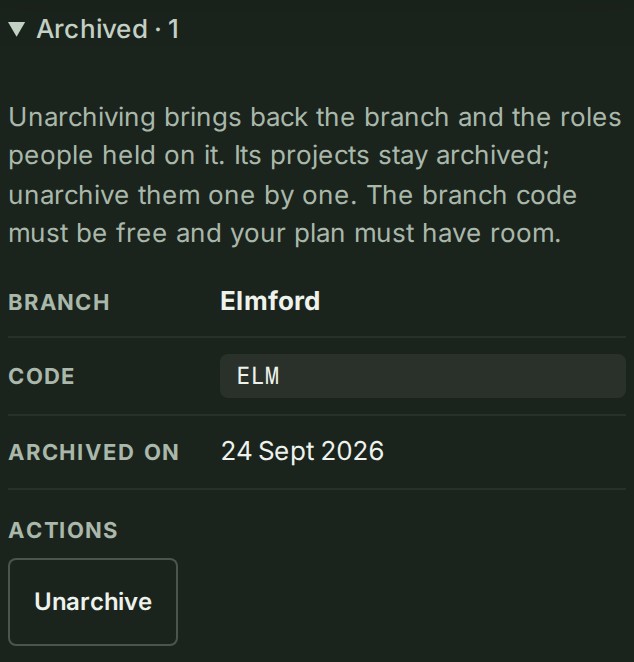
- To bring it back, open the Archived group below the working branches and choose Unarchive.
- Unarchive any projects you need separately from the projects' archived list.


On a phone
Why this is so
Archiving keeps the branch record and the roles people held on it, but excludes the branch from working lists and branch-based access. Unarchive restores the same branch and the roles people held on it; it does not add back access that was separately removed or expired. Linked group chats reconcile access after the change. Projects stay archived until you unarchive them separately, which becomes possible once the branch is back.
If another active branch now uses the code, archive that branch to free it before retrying. If your plan has no room, archive an unused branch or choose a plan with a larger branch allowance.
Keep an unfinished branch
While adding or editing a branch, following a link to another page or switching organisations asks Leave without saving?. Choose Stay on this page to keep your entries, or Discard and leave to leave them behind. Cancel closes the branch form and discards its entries. Save before using the browser's Back or Forward buttons; these do not show this decision.