Preferences
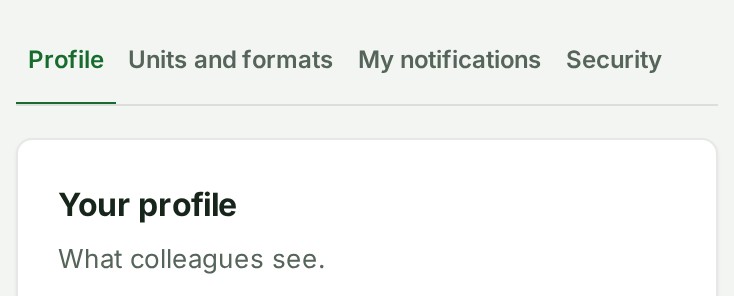
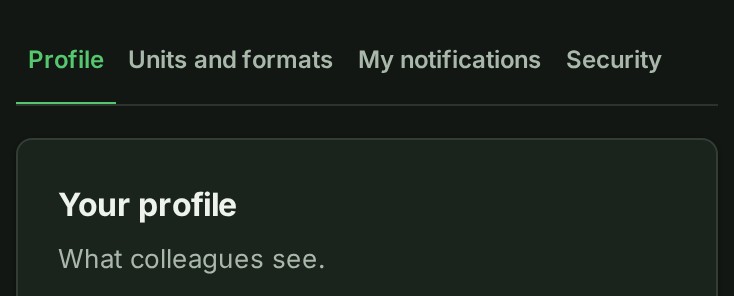
Preferences are yours, not the organisation's. They follow you into every organisation you belong to, and each colleague keeps their own. Preferences has four tabs: Profile, Units and formats, My notifications and Security. When your organisation has message reactions switched on, a Messages tab sits before Security.
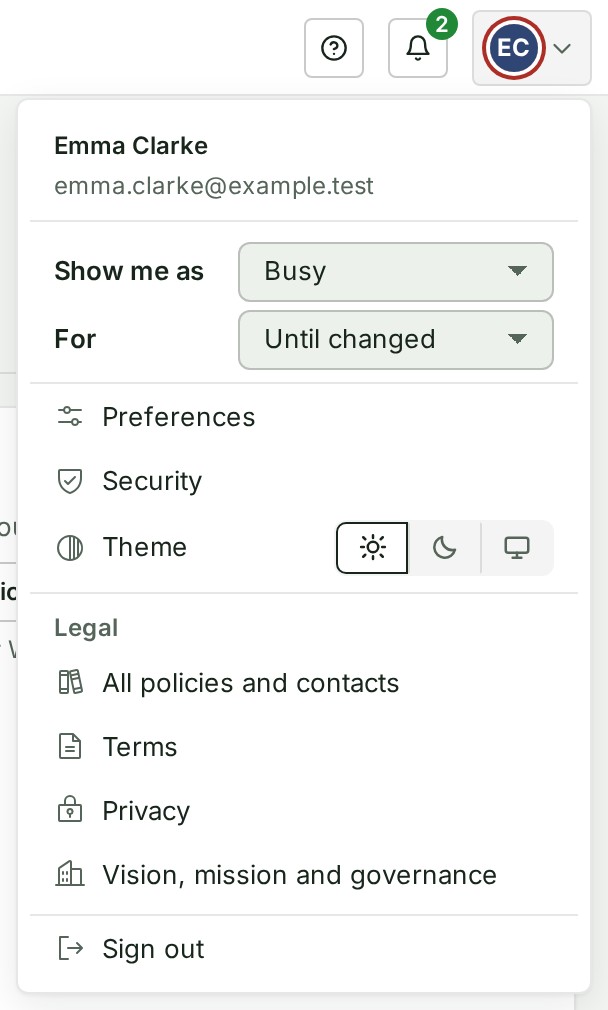
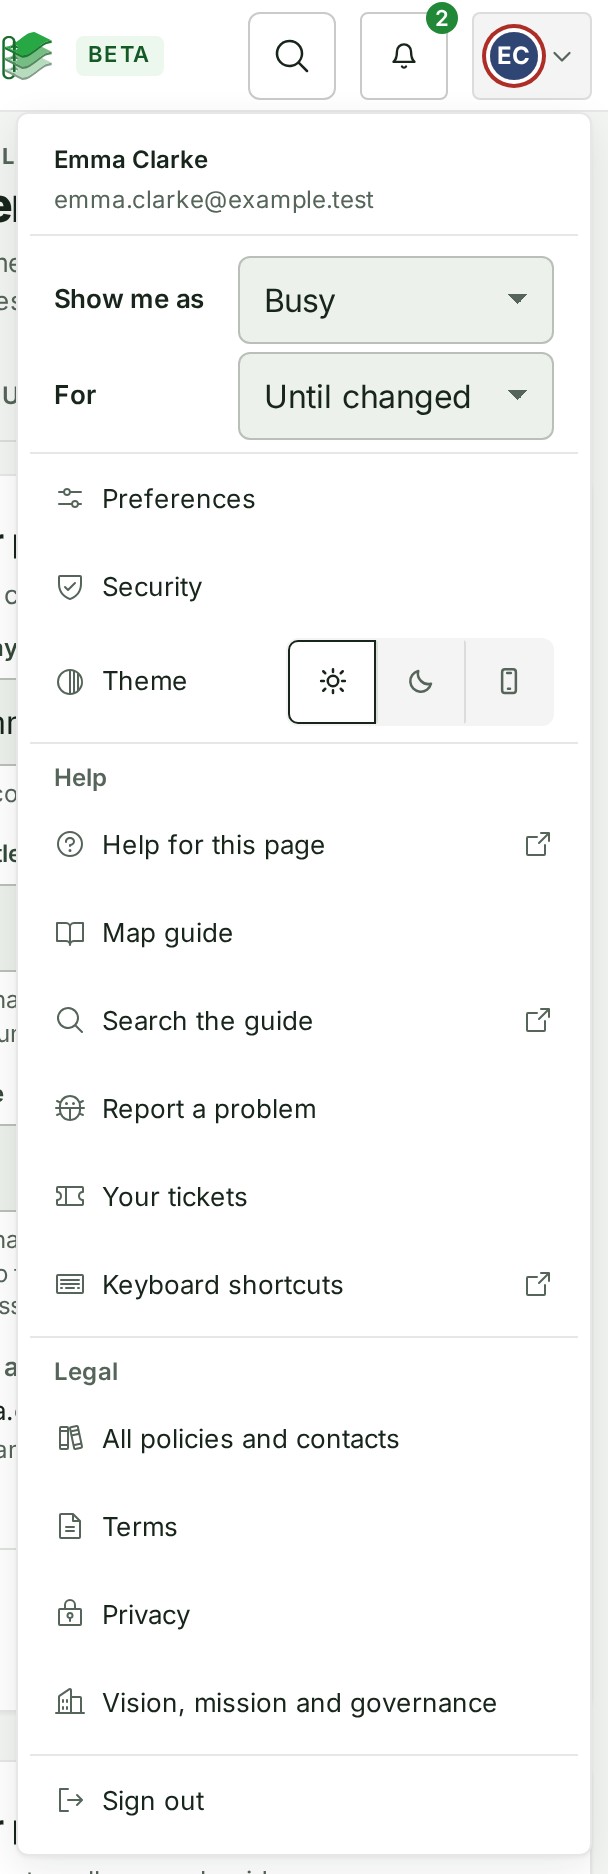
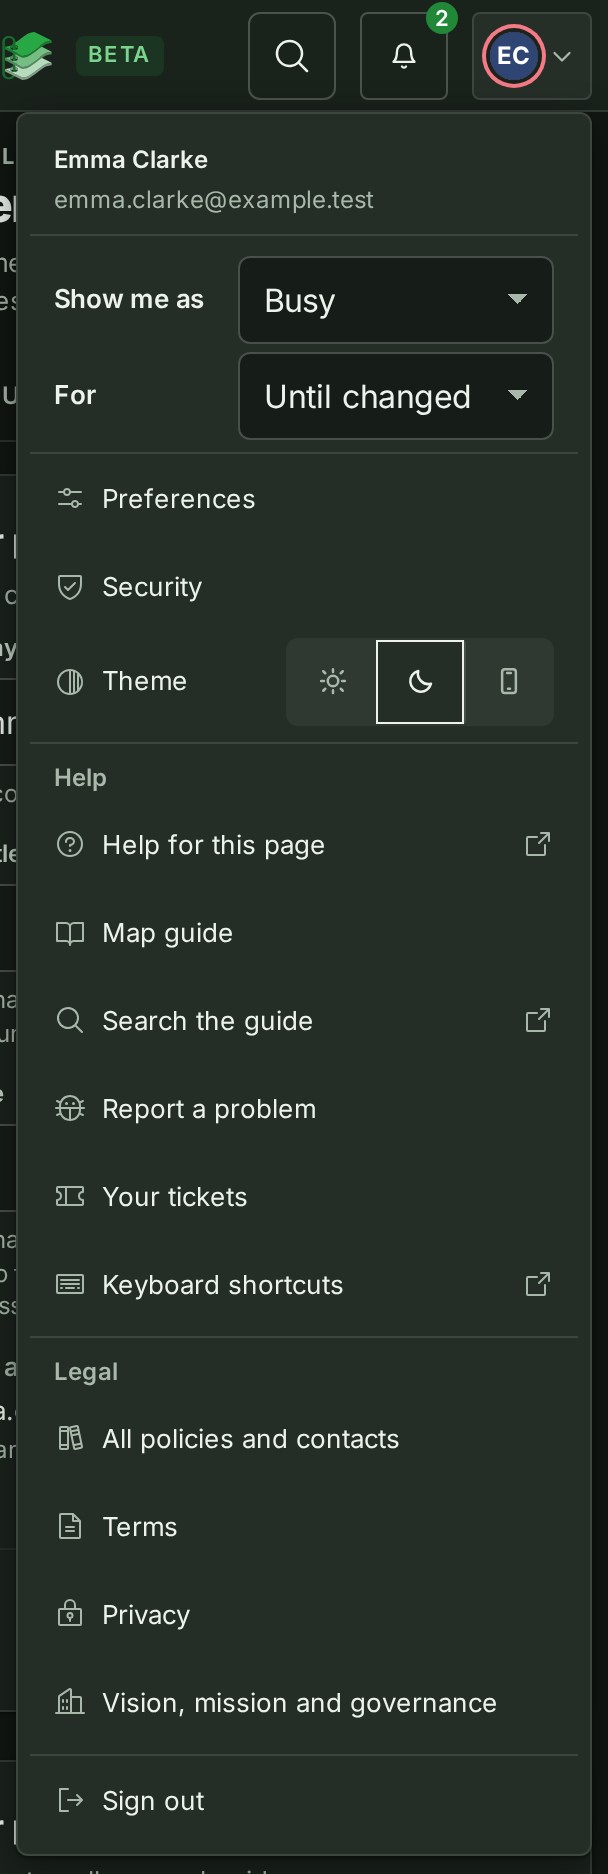
Open your picture in the top bar and choose Preferences or Security. These controls are in the account menu under your picture, in the Console and on the map.
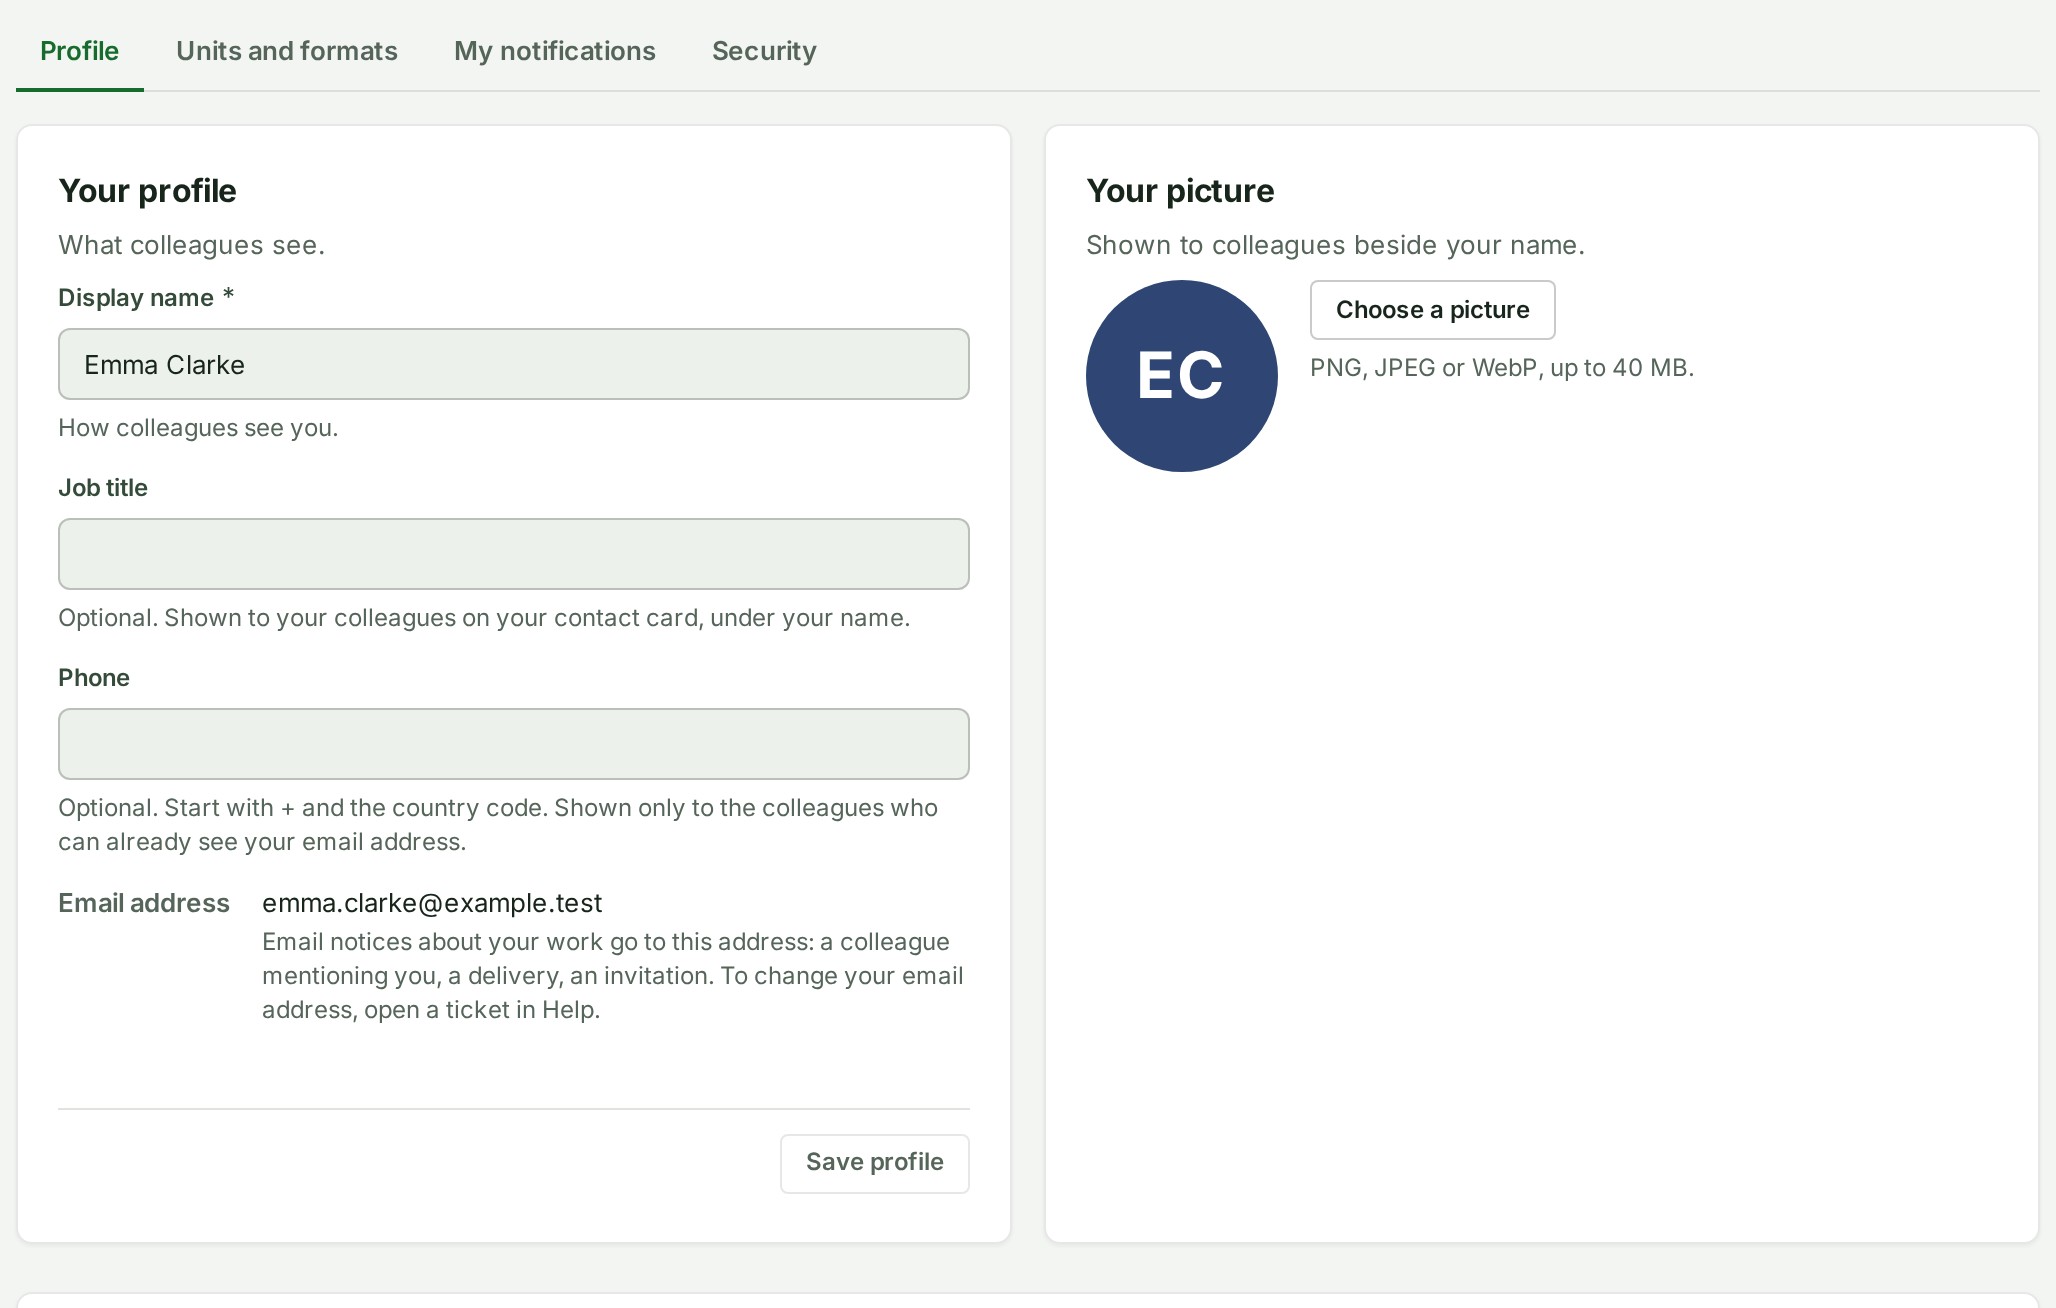
Update your profile
- Open Preferences from the account menu. It opens on the Profile tab.
- Under Your profile, change Display name if you want to. How colleagues see you, in every organisation you belong to.
- Optional: type your Job title, up to 80 characters on one line. It is shown under your name on your contact card, to every colleague.
- Optional: type your Phone number with its country code, such as
+44. Spaces and dashes are fine. A number typed without a country code is read as your organisation's country. Check Will be saved as … under the field. If the number cannot be read, the reason appears under the field when you move on, and nothing is saved until you fix it or clear the field. - Select Save profile. To remove your job title or phone number, clear the field and save.
- Your Email address is shown, not editable. To change it, open a ticket in Help. Email notices about your work go to this address.
- Optional: set or change Your picture — see Change your picture below.
Who sees your job title and phone number
Your job title is shown to your colleagues in every organisation you belong to, like your name and role. Your phone number is shown only to the people who can already see your email address: the owner and administrators, the lead of a project or the manager of a branch you are on. Client reviewers, other organisations and Alonstech's support staff never see it. Changing either is not recorded in your organisation's audit trail. See See who someone is for the card itself.
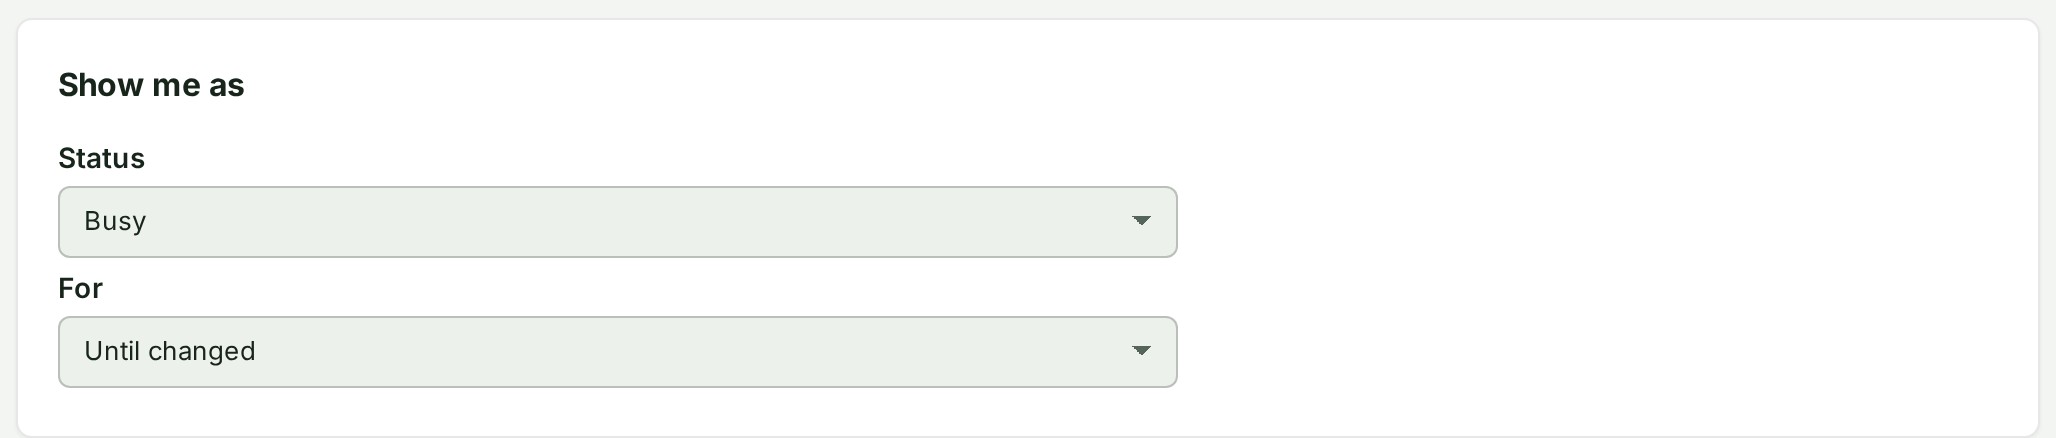
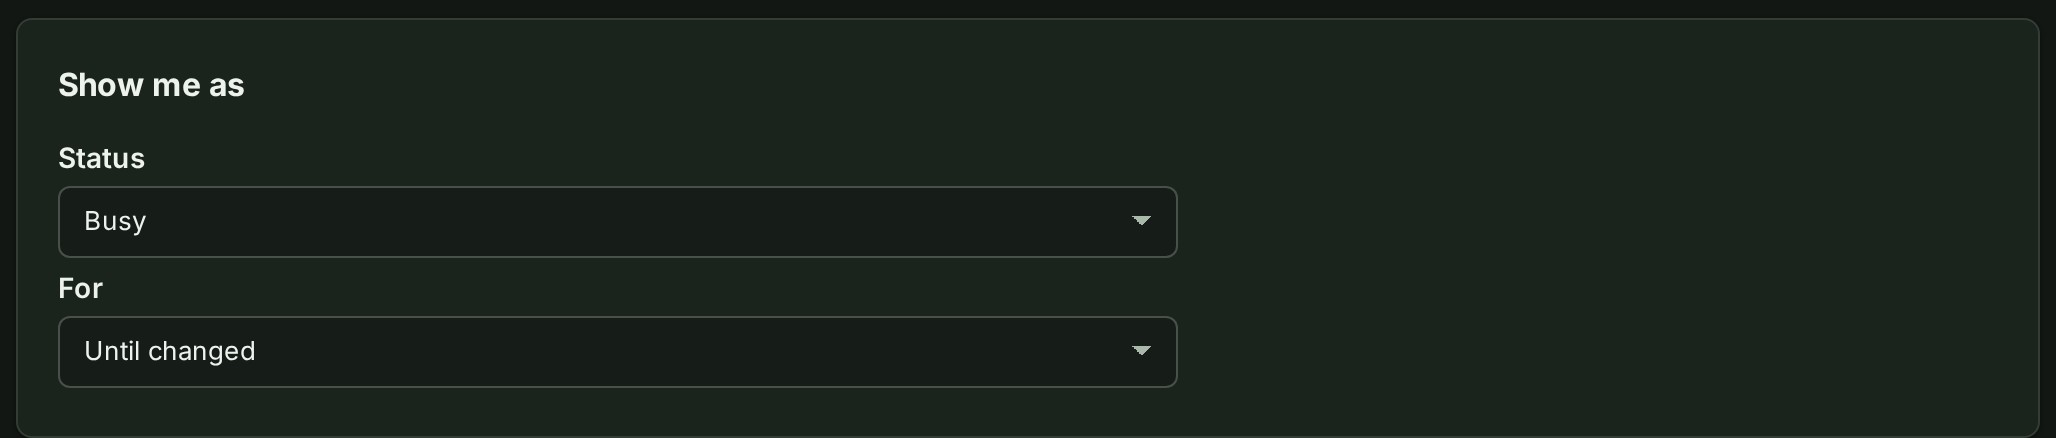
Show me as
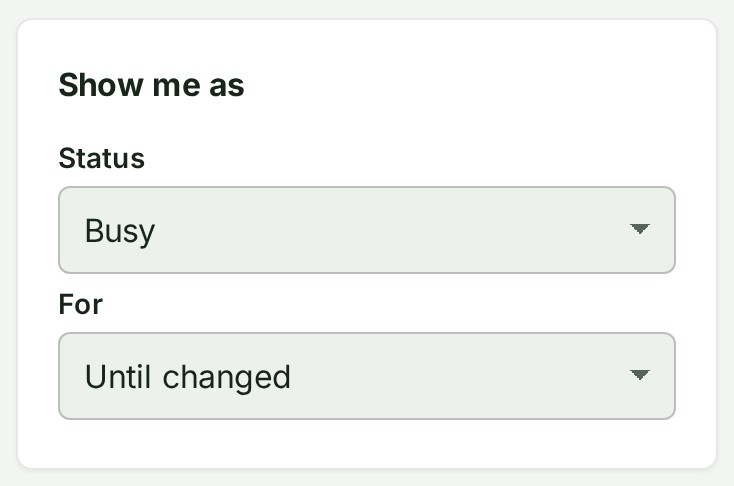
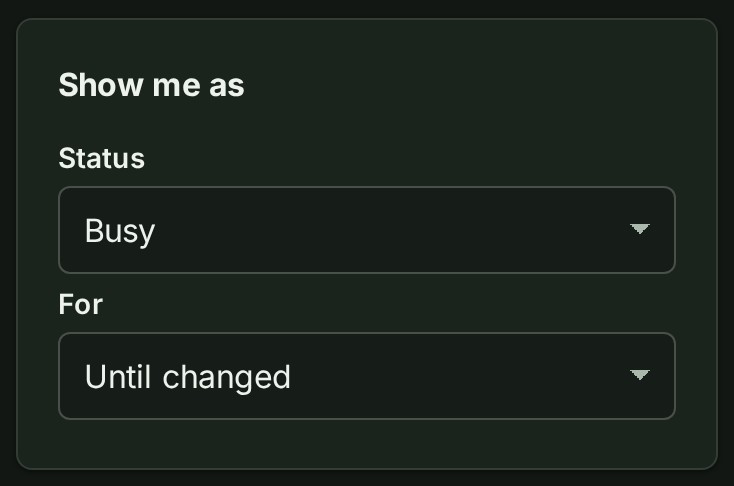
Choose Show me as from your face in the top bar or on this Profile tab. Automatic shows you online while the app is open. Busy keeps you online with a red ring and the word Busy; choose 1 hour, Until end of today in your time zone, or Until changed. Appear offline leaves you out of online and project viewer lists and hides your last seen time from colleagues. You can still see your own last seen time.
Change your picture
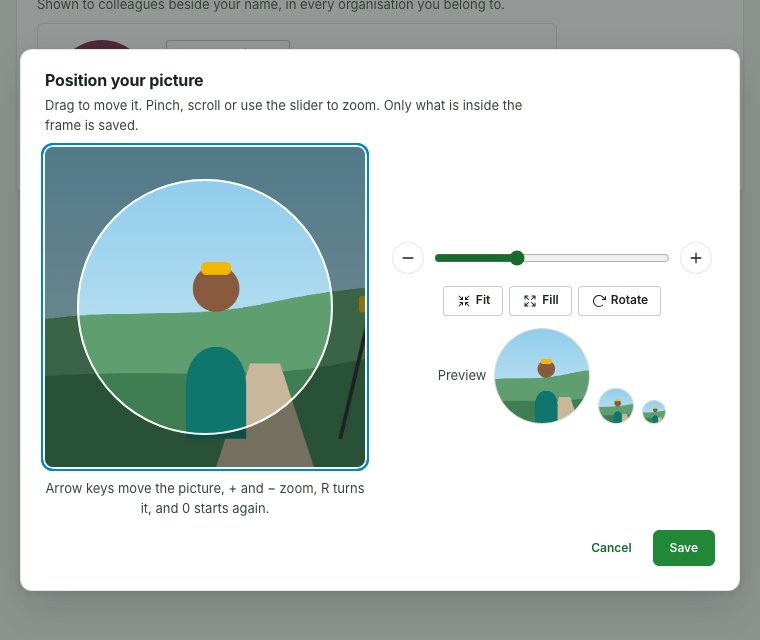
Your picture is shown in a circle beside your name, to colleagues in every organisation you belong to. Any signed-in GISweaver user who has its link can also see it, whether or not they share an organisation with you, as the Privacy Policy says; see Terms and policies. Before it is saved you place it in that circle yourself.
- Under Your picture, select Choose a picture (or Change picture when you already have one), or drag a file from your computer and drop it on the card. On a phone you can take a photo with the camera or pick one from your photos.
- Pick a PNG, JPEG or WebP image up to 40 MB; a phone photograph is fine, since only the part you keep is sent. It opens in Position your picture, under a round frame.
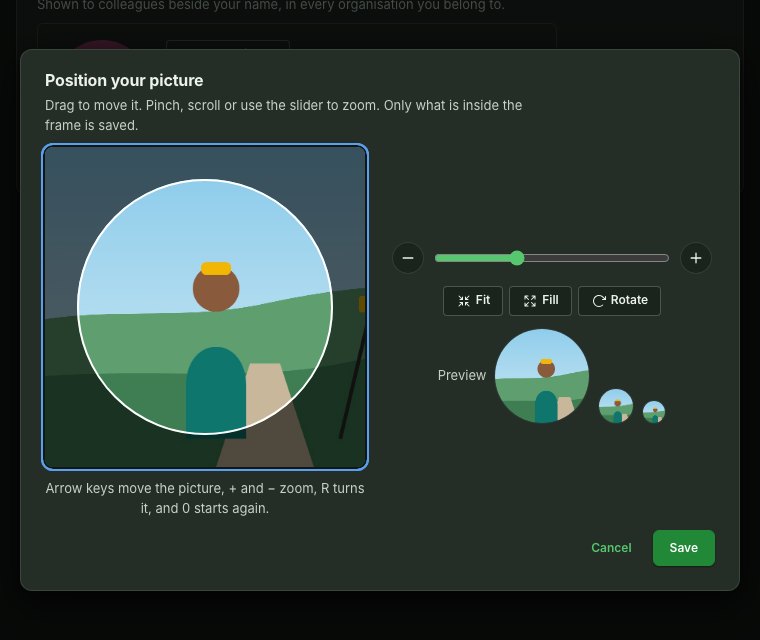
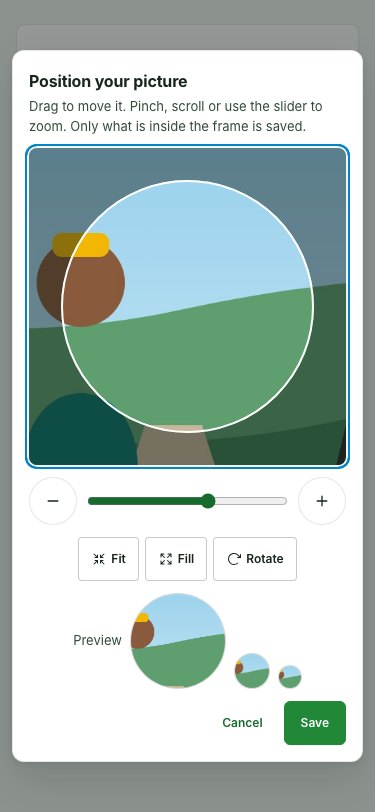
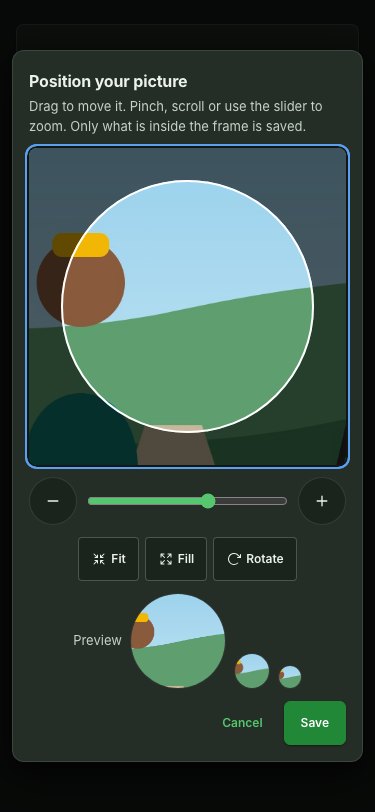
- Drag the picture to move it inside the frame. To zoom, use the slider or the − and + buttons (Zoom out and Zoom in) beside it, pinch with two fingers on a phone or tablet, or scroll with a mouse. With the keyboard, the arrow keys move the picture,
+and−zoom,Rturns it and0starts again. - Optional: select Fit to see the whole picture inside the circle, or Fill to cover the circle with it. Rotate turns the picture a quarter turn to the right, for a photograph taken sideways.
- Check Preview: your picture at the sizes GISweaver shows it, on this page, beside your name in a list and in the smallest places.
- Select Save. Only what is inside the frame is saved. Cancel closes the editor and changes nothing.
To take your picture away, select Remove; your initials are shown instead.
Why this is so
The picture is cropped in your browser, so only the part inside the frame is sent. A picture fitted with room around it keeps that room clear rather than filling it with a colour. GISweaver then resizes it and saves it afresh, which discards any camera information in the file, including where a photograph was taken. Choosing a file sends nothing until you select Save, so a wrong file costs nothing: select Cancel and choose again.
Choose which notifications reach you
The My notifications tab holds the notification sound and a table of every kind of notification, by bell and by email. You can turn down anything your organisation sends; you cannot turn on what it has turned off. The steps are in Choose which notifications reach you.
Choose your quick reactions
Where it is switched on, the Messages tab holds Quick reactions: the one to five emoji on your message bar, in the order you choose. The steps are in Choose your quick reactions.
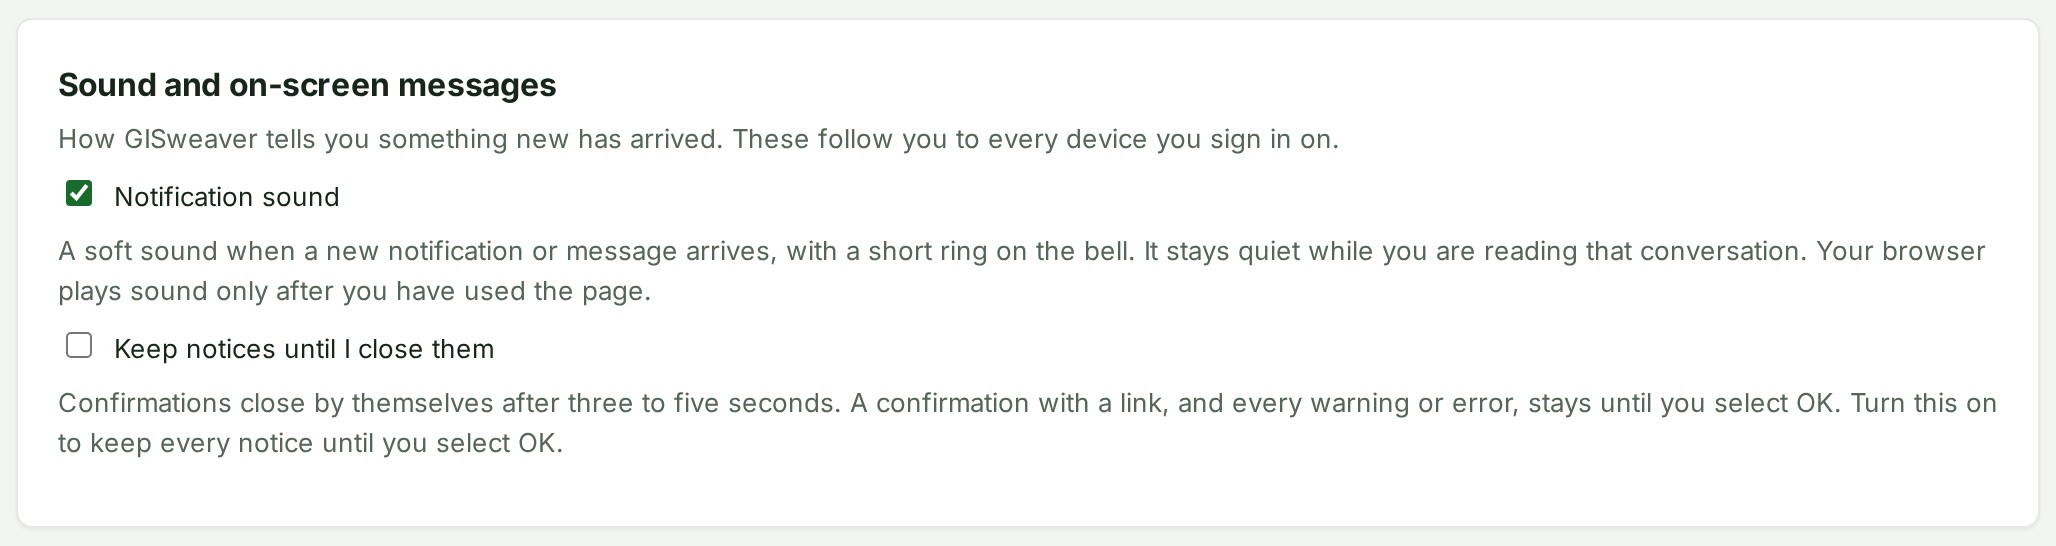
Choose a notification sound
- Open Preferences from the account menu, then the My notifications tab, and find Notification sound.
- Clear the box to turn the sound off, or tick it to turn it back on. Saved appears at once; there is no Save button.
The sound is a soft "ting" that plays when something new arrives in the bell or in Messages. It is on until you turn it off. The choice is yours, not the organisation's, and it follows you to every device you sign in on. The short ring on the bell does not depend on it: with the sound off, the bell still rings, silently. See Follow your notifications for when the bell rings and when it does not.
Why you might hear nothing
Your browser plays sound only after you have used the page, so the first notice after you open a tab you have not touched may be silent. The sound is also quiet while the page is in front of you and the message is in the conversation or thread you are reading (a message in any other conversation still sounds), and it plays at most once in ten seconds however many notices arrive. A browser may also keep a tab in the background silent; the bell then rings once when you come back to it.
Keep notices until you close them
After you save a change, GISweaver answers with a short message that closes by itself after three to five seconds. A message with a link, and every warning or error, stays until you select OK. If you need longer to read, keep them all:
- Open Preferences from the account menu, then the My notifications tab, and find Keep notices until I close them.
- Tick the box to keep every message until you select OK, or clear it to go back to messages that close themselves. Saved appears at once; there is no Save button.
The choice is yours, not the organisation's, and it follows you to every device you sign in on. What each kind of message looks like, and how to hold one to read it, is on Notices and confirmations.
Choose measurement displays
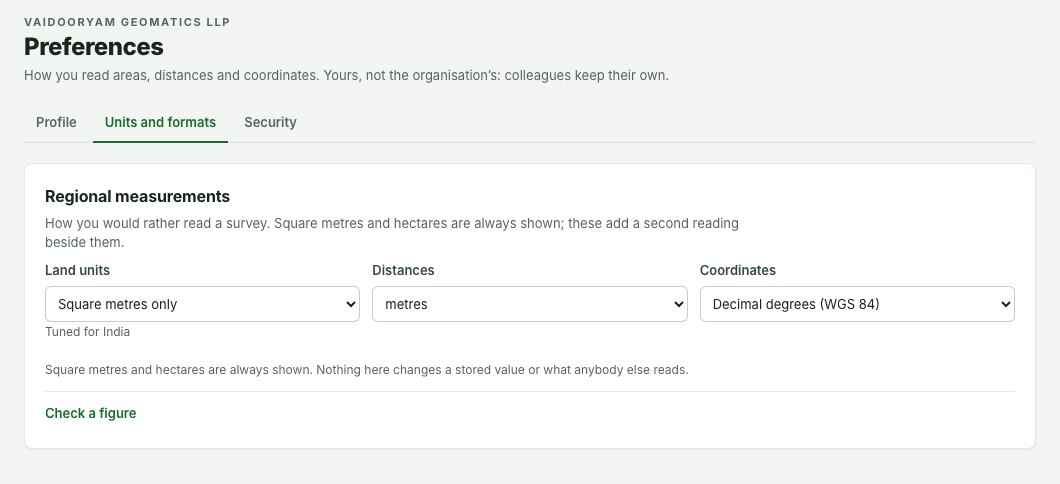
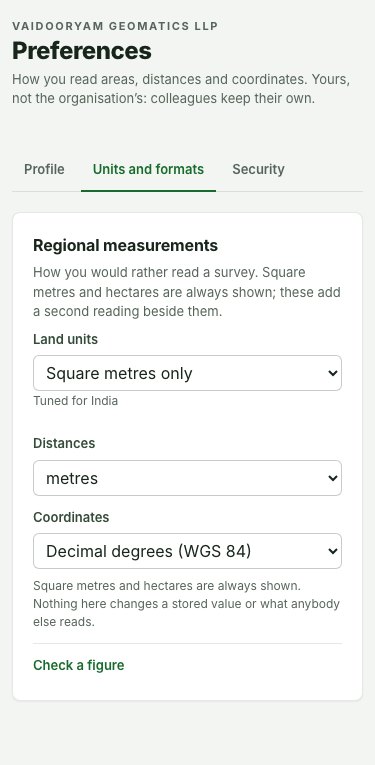
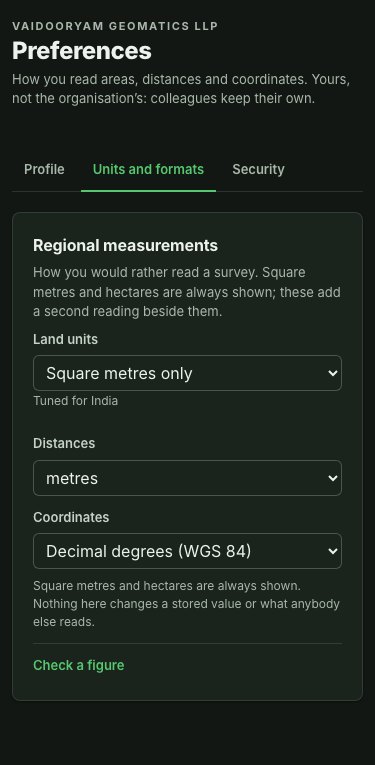
- Select the Units and formats tab.
- Under Regional measurements, choose Land units — square metres, hectares, acres, square feet, square yards (gaj), cents, gunthas or grounds.
- Choose Distances — metres or feet.
- Choose Coordinates — decimal degrees (WGS 84), degrees/minutes/seconds (WGS 84), or projected grid coordinates.
- Watch for Saved — each choice saves the moment you make it.
Why this is so
Square metres and hectares are always shown alongside your choice; nothing here changes a stored value or what a colleague reads. A Tuned for India note appears under Land units until you pick a value yourself — new India accounts start on acres rather than a blank field. Use Check a figure in the same card to convert one number without changing your saved choice.
Reset column widths
Tables that you can resize, such as Uploads and a project's Files, remember the widths you gave their columns, and they follow you to every device you sign in on. To go back to the widths GISweaver starts with:
- Select the Units and formats tab.
- Under Table columns, select Reset column widths.
- Watch for Column widths reset. — every table you had resized returns to its starting widths.
Why this is so
The widths are kept with your account rather than in the browser, so a table looks the same on your laptop and your phone. To reset one column only, double-click the edge you dragged, as described under Resize columns.
Keep an unfinished profile change
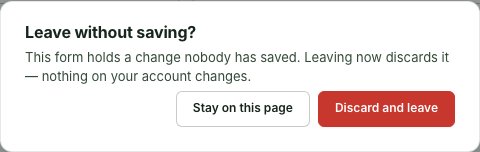
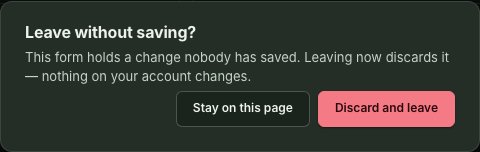
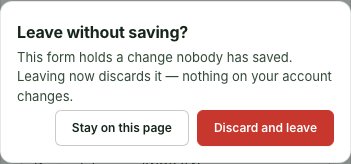
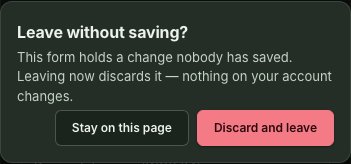
If you follow a link to another page or switch organisations while your name, job title or phone number has changed, GISweaver asks Leave without saving?. Choose Stay on this page to keep your typing, or Discard and leave to leave it behind. Save the profile before using the browser's Back or Forward buttons; these do not show this decision.
If a measurement choice is refused because another tab saved first, choose Reload. The controls show the latest saved choices. You can then choose a different unit and save it normally.
Protect your sign-in
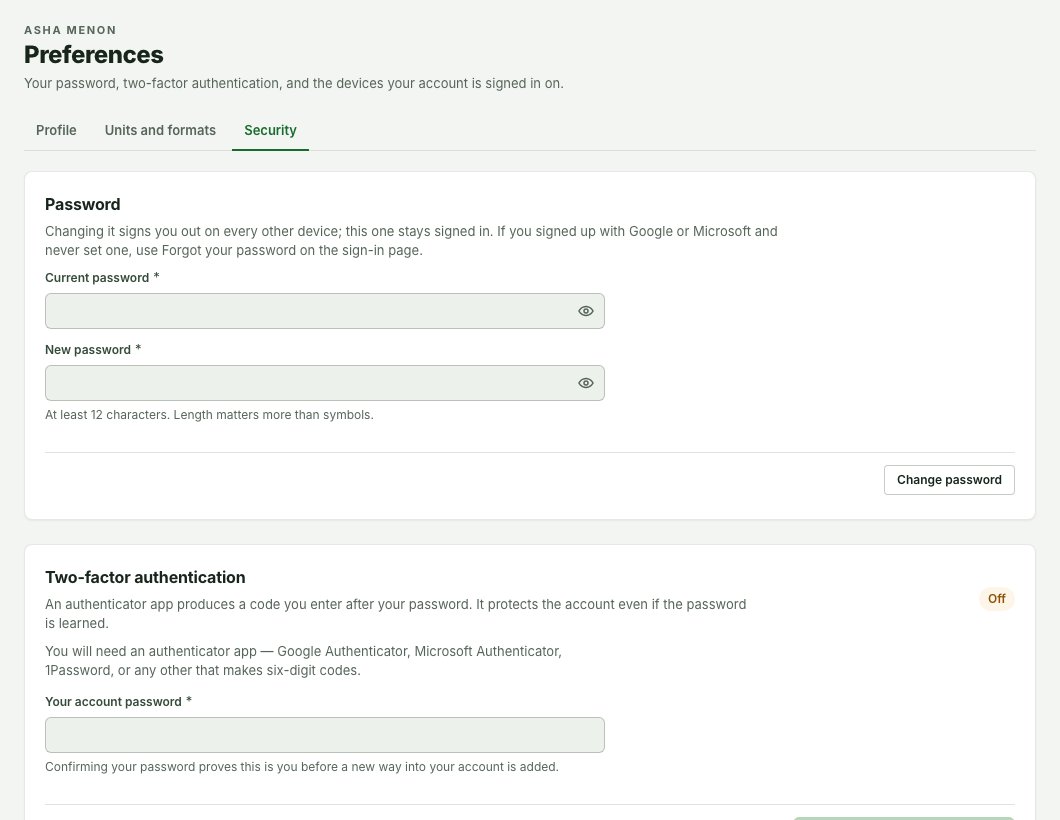
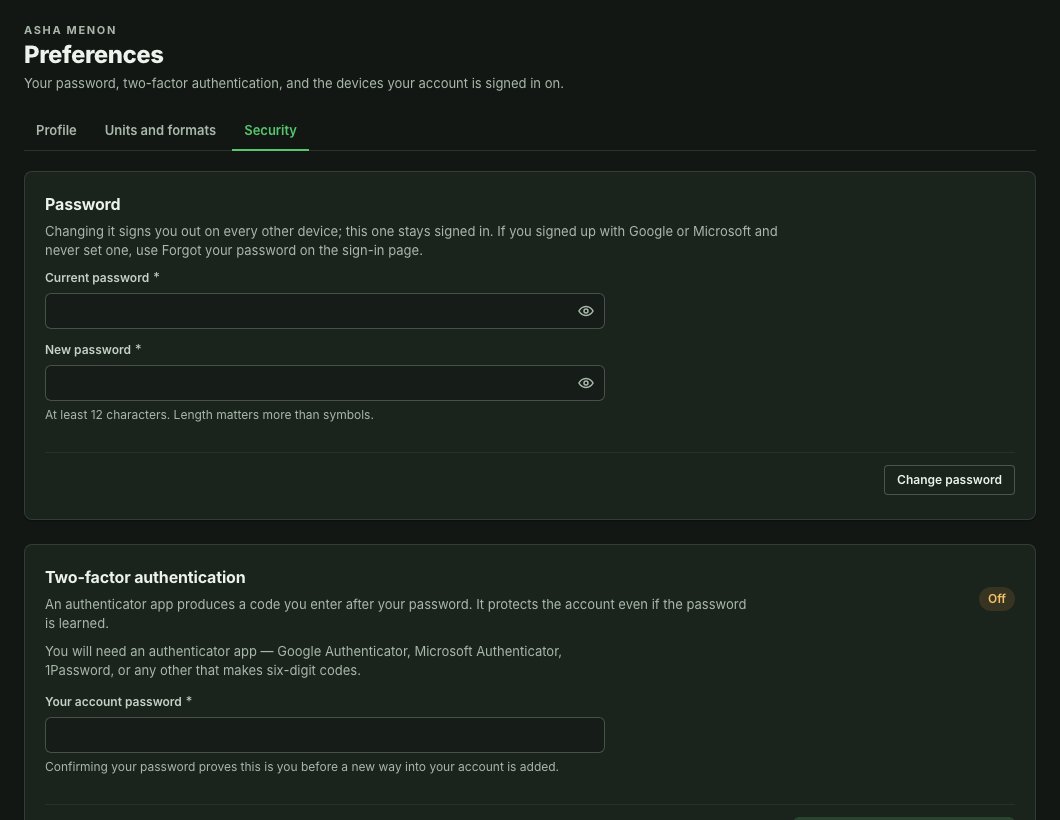
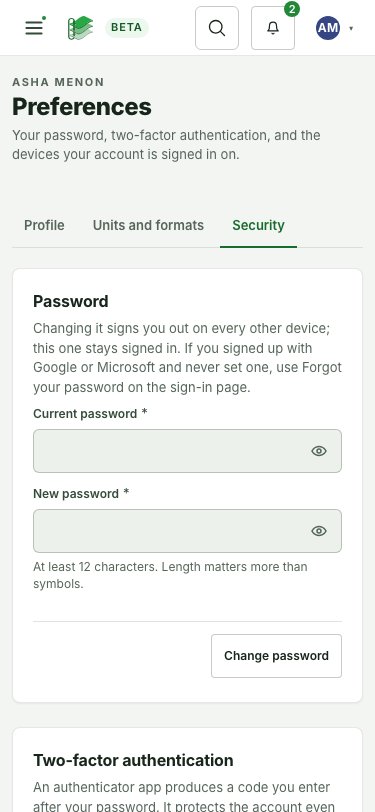
Select the Security tab for your password, two-factor authentication, recovery codes, your sign-in methods (password, Google, Microsoft) and signed-in devices. The page keeps the heading Preferences on every tab, and its eyebrow names you rather than your organisation: these settings are yours.
To change your password:
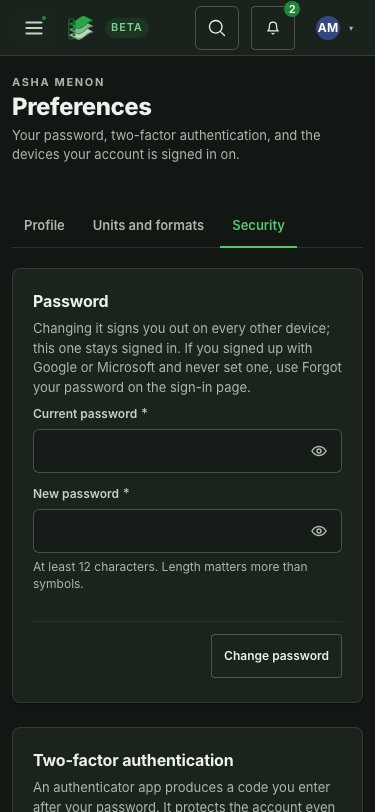
- In the Password card, enter your Current password and a New password of at least 12 characters. The eye at the end of each box shows what you typed.
- Select Change password. Every other device signed in to your account is signed out; the one you are using stays signed in. GISweaver emails you that the password changed.
If you signed up with Google or Microsoft and never set a password, set one:
- In the Password card, select Set a password.
- Open the link we email you and choose a password.
- Sign in with it. Saving it signs you out on every device.
The password-changed email includes No, secure my account. If you did not make the change, open that link, enter your account's current password and confirm the action. If you no longer know the current password, reset it instead: saving a new password also signs you out on every device. GISweaver then signs out every device, cancels open sign-in links, forgets recognised devices and emails you a fresh password-reset link. The response link works once for seven days. Opening the email link alone does not change your account.
To turn on two-factor authentication:
-
Enter Your account password — the eye at the end of the box shows what you typed — and select Set up two-factor authentication.
If you sign in only with Google or Microsoft, choose the linked provider's Continue with Google or Continue with Microsoft button instead. Sign in with that provider again; Security then shows the setup key. A password is optional for this path.
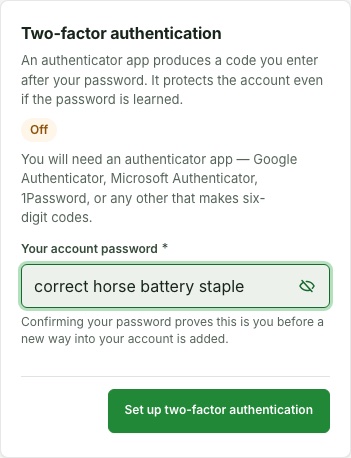
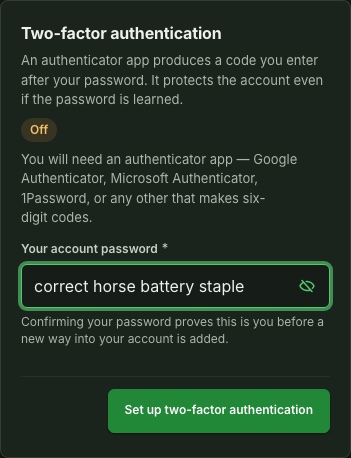
Preferences · Security · Two-factor authentication, password shown with the eye · Synthetic example. -
Scan the QR code, or add the key by hand: add the shown Setup key to an authenticator app (Google Authenticator, Microsoft Authenticator, 1Password or similar), or copy the Setup link. The key and the link use only the letters A to Z and the digits 2 to 7 — never a 0 or a 1.
-
Enter the six-digit code the app shows and select Confirm and turn on.
- Save the ten recovery codes shown next, straight away — Download as a text file or Copy all — then select I have saved these. The card already says On while the codes are shown: two-factor authentication is on from the moment you confirm the code. Each code signs you in once if you lose your phone. Keep them away from your phone, never in project notes, tickets or email.
Why this is so
Two-factor authentication asks for a six-digit code after your password or provider sign-in. Once it is on, use Regenerate recovery codes to replace a used-up set, or Turn off two-factor authentication to remove it — both ask for a current code first.
Sign in again for sensitive work
Your organisation may ask for a fresh sign-in before sensitive work such as managing people, billing, the audit trail or access. When it does, the action is refused with a sentence saying so and a Sign in again panel opens in its place: enter what it asks for (your password, a code from your authenticator app, or both) and select Sign in again, then repeat the action, or select Try again where the screen offers it. What you had typed in a form is kept. The panel is also on Access > Restrictions. It lasts 8 hours, in that browser session only. What you can see does not change; only the sensitive actions wait. Two-step sign-in, above, must be on first. See Create a role.
Sign-in methods
Sign-in methods lists how you can get into your account: your password, and Google or Microsoft if this deployment offers them.
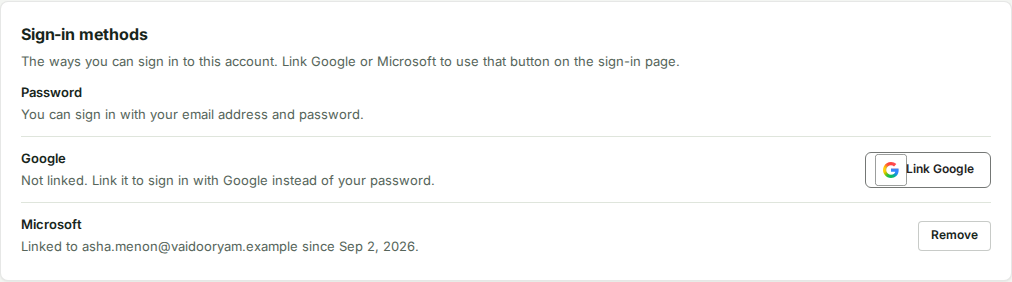
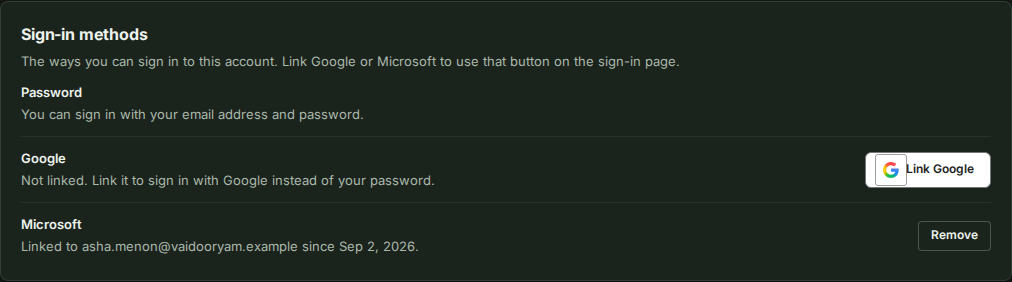
- To link a provider, select Link Google (or Link Microsoft).
- Enter Your account password — or, with two-factor authentication on, a current authenticator or recovery code — and select Continue to Google.
- Choose the account to link. You come back here with "Google is linked. You can now sign in with it."
- To remove a link, select Remove, confirm the same way and select Remove again.
Why this is so
Adding or removing a way into your account is what somebody holding a stolen session would most want to do, so each change asks you to prove it is you first. GISweaver will not remove the last way in; set a password or link another provider first. Every password box here has an eye (Show password) to check what you typed, and the password is hidden again when you submit.
Review your signed-in devices
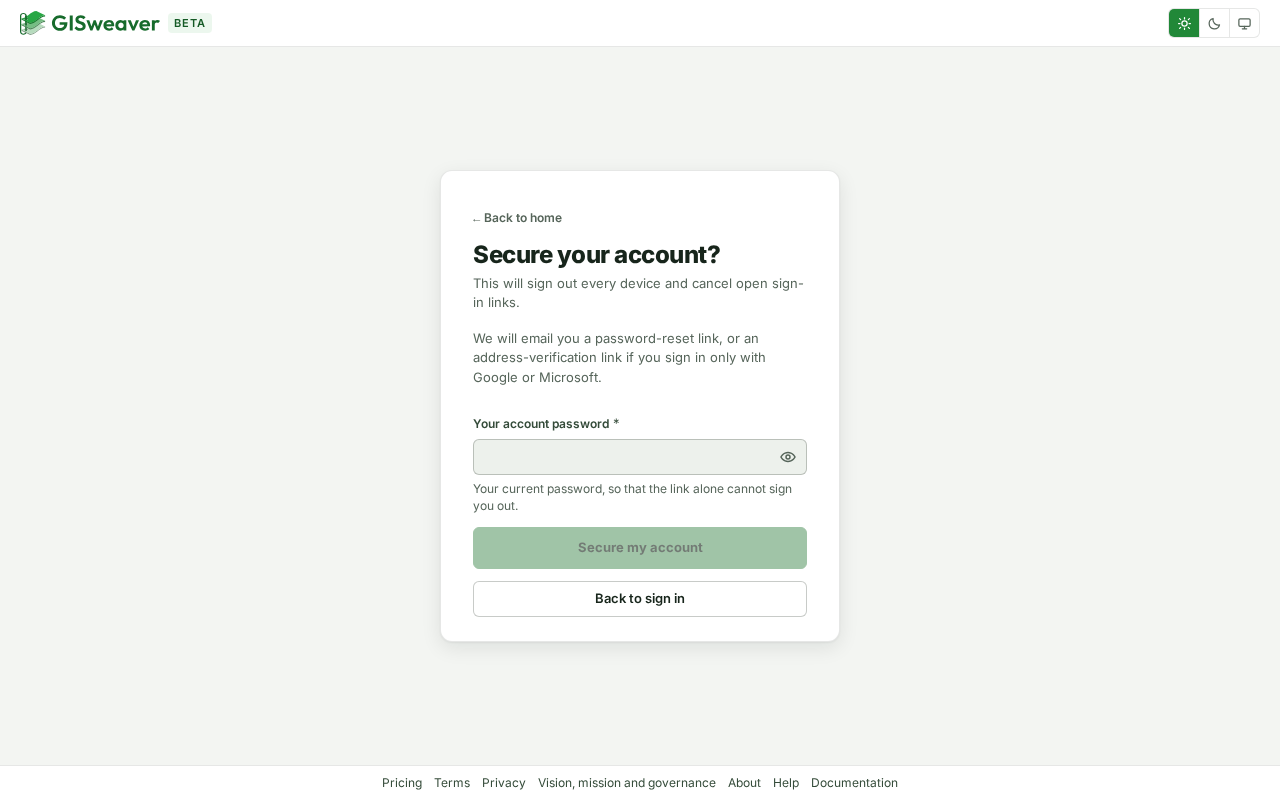
After your first sign-in, GISweaver emails you when your account signs in from a browser it has not seen before. The very first sign-in on an account sends no notice: it only records that browser as recognised. At most one new-device notice is sent for your account in any 24-hour period; later sign-ins in that period are recorded but do not send another notice. The notice shows the first sign-in's time in UTC, an approximate place and a simple browser and system name. A familiar browser changing place by itself does not send a notice; mobile networks and VPNs can move the apparent place. If the sign-in was yours, you do not need to act. If it was not yours, select No, secure my account in the notice. On the page that opens, enter Your account password (or, with two-factor authentication on, an Authenticator or recovery code) and select Secure my account. If you sign in only with Google or Microsoft, select Continue with Google or Continue with Microsoft and sign in with that provider again instead. GISweaver signs out every device, cancels open links, forgets recognised devices and emails you a fresh password-reset link. If you use only Google or Microsoft to sign in, the email instead asks you to verify your address before signing in with that provider again. The notice never includes your full network address or browser details.
The email link first opens this confirmation page. A preview by an email app cannot trigger the action, and neither can the link alone: the page asks you to prove it is you first.
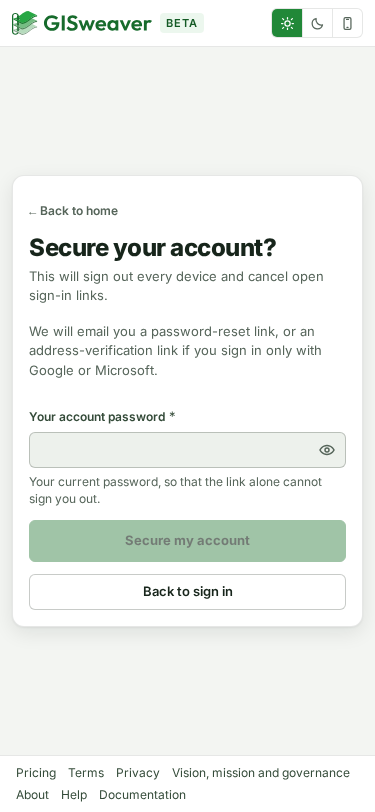
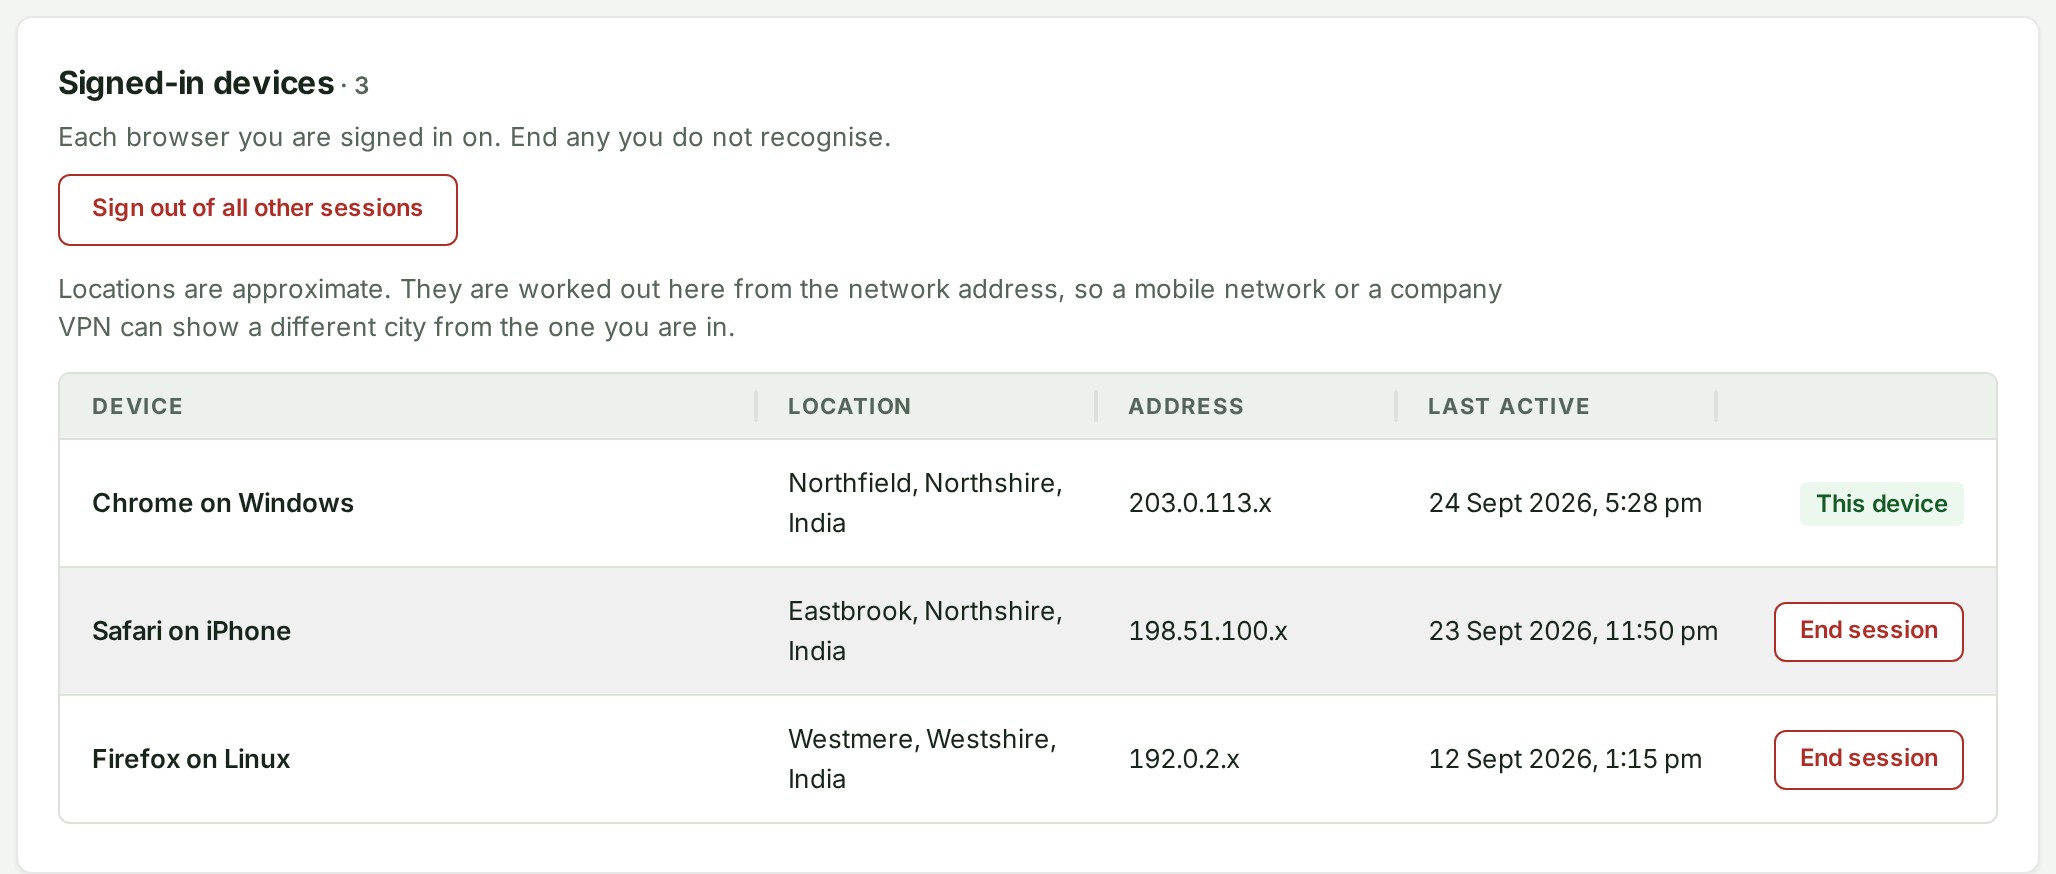
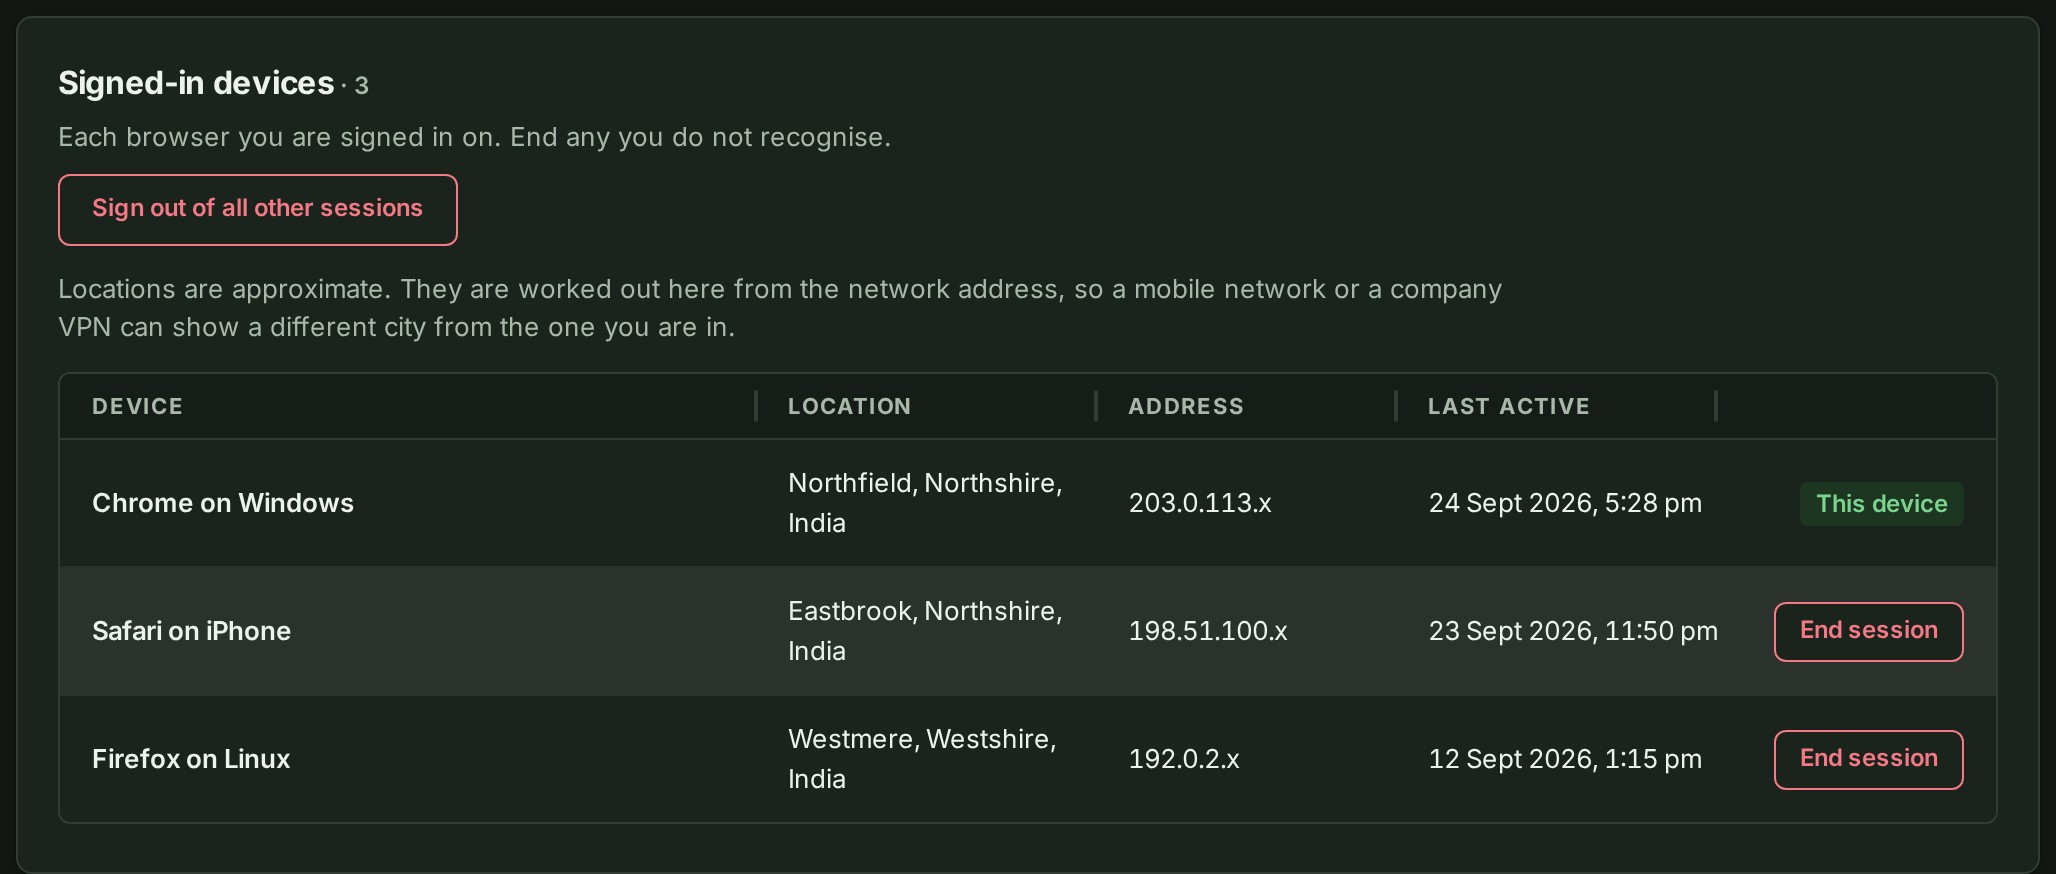
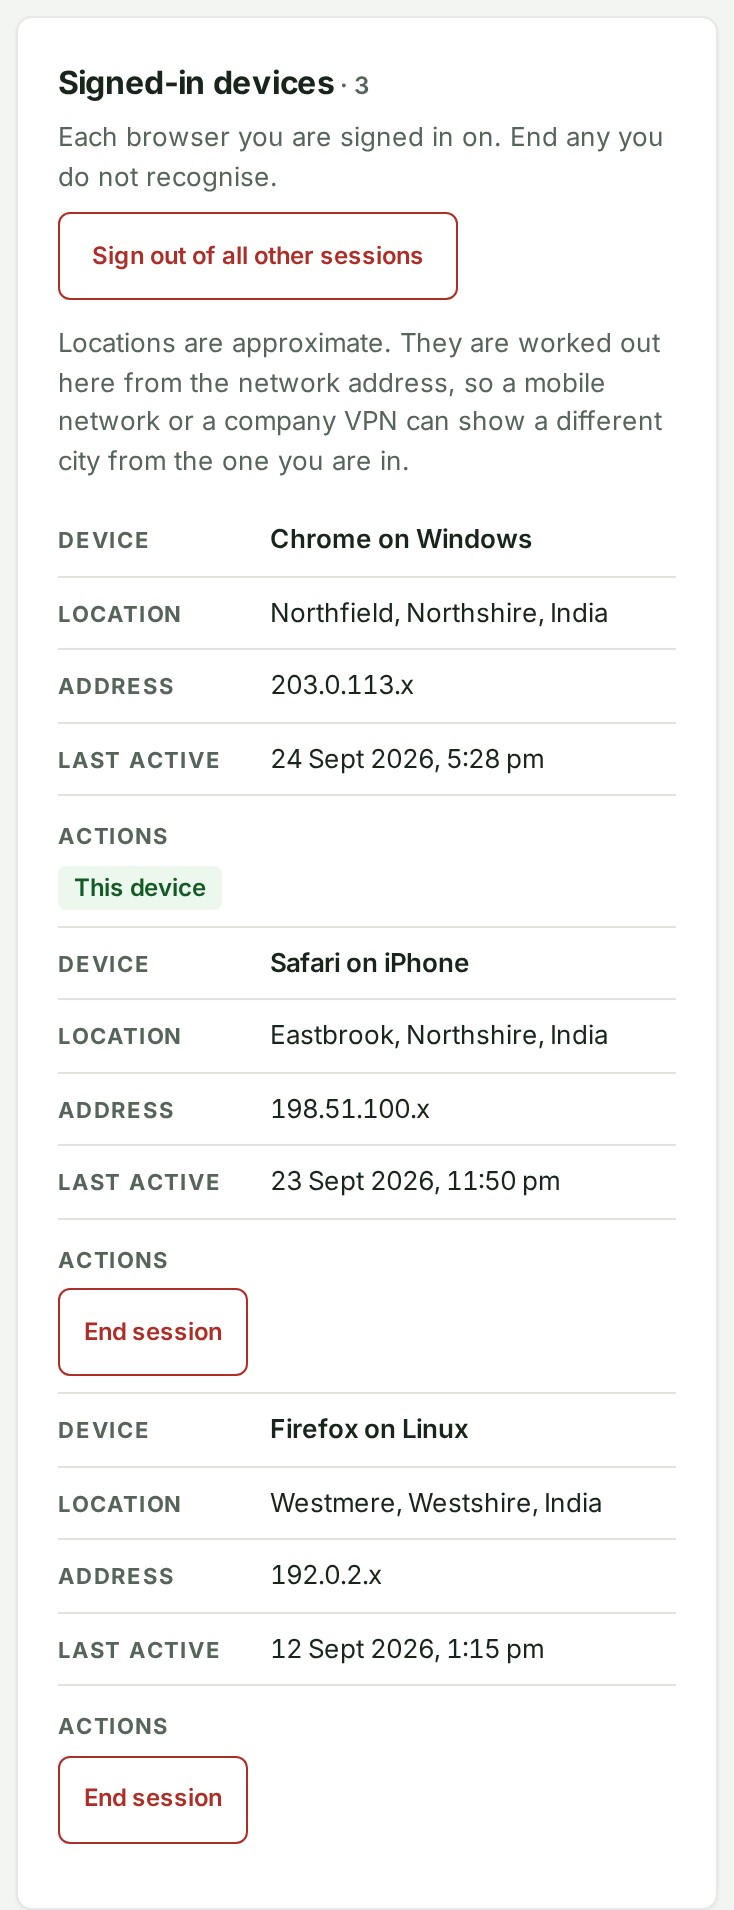
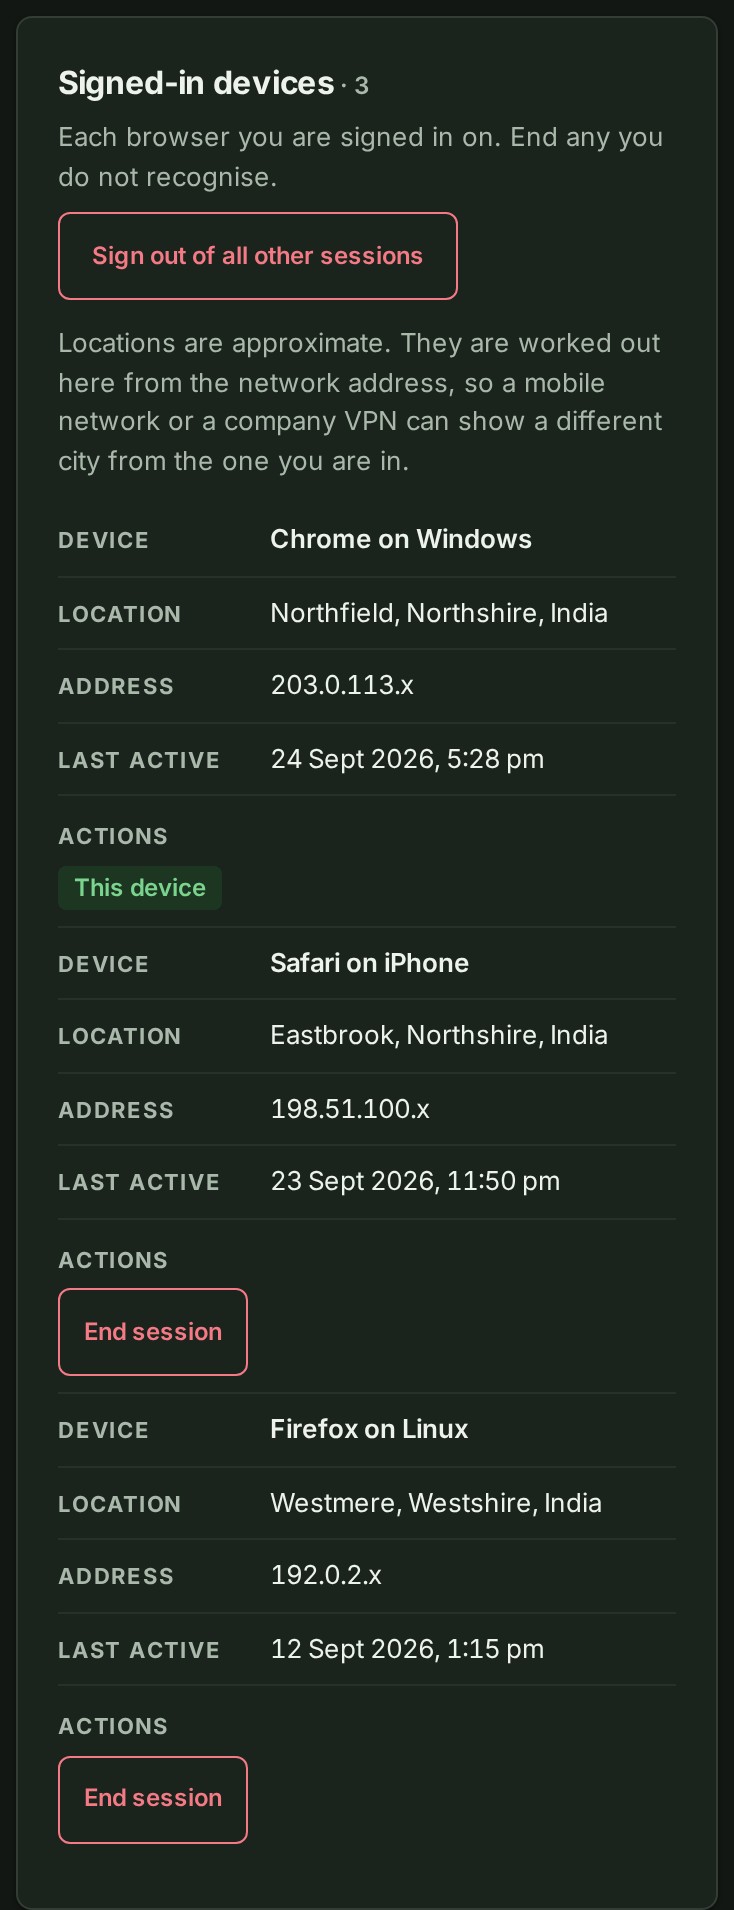
- Open Signed-in devices to see every browser session, with its approximate location, masked address and last-active time.
- Select End session on any row you do not recognise, enter Your account password (or your authenticator code), and select End it. If you sign in only with Google or Microsoft, sign in with that provider again instead.
- If you think somebody else used your account, use No, secure my account in the new sign-in or password-changed email.
Why this is so
Your current session is marked This device and cannot be ended from here. Ending another session signs that browser out at once; nothing it uploaded or changed is affected, and your own session is untouched. See Reset a forgotten password for account recovery.
Related: Settings, Sign in to GISweaver, Help.